Ubuntu 14.04 Desktop Unattended Installation
There are two most commonly used methods when it comes to automating Ubuntu installations: Preseed and Kickstart. The first one is an official method for Ubuntu to suppress all the questions in the installation process, but it has really steep learning curve if you are making automatic Ubuntu installer for the first time. Second method is really easy to start with because Ubuntu supports most of the RedHat’s Kickstart options, but since it isn’t an official method, we are still going to use some Preseed commands.
I couldn’t find one tutorial where the whole process would be explained, so I made this fully working and tested1 tutorial for anyone to use.
In this tutorial I am going to create Kickstart and Preseed configuration files, modify original Ubuntu ISO files, save my modified ISO and make USB Startup Disk from it.
1. Create Kickstart Configuration File
Install Kickstart by typing this command into Terminal:
sudo apt-get install system-config-kickstart
After the installation process is completed, open Kickstart Configurator using Unity search or just by typing system-config-kickstart in Terminal.
When the Kickstart opens, choose the settings you need for your installation. You can review all possible options on the official Kickstart Configurator documentation site. Here is the configuration I used:
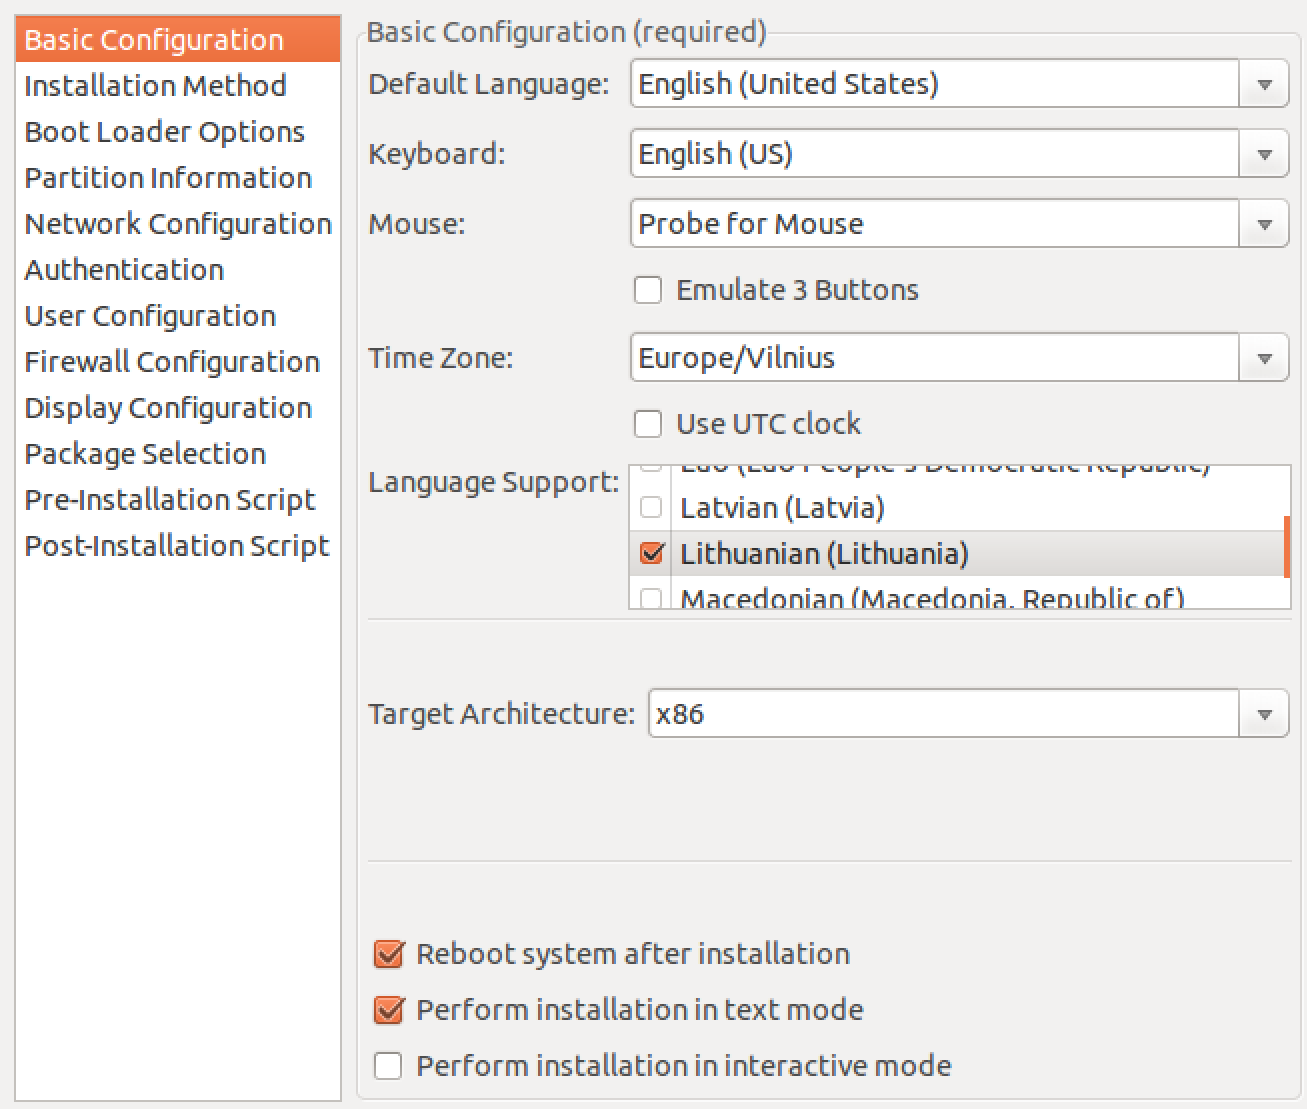
Very basic and self explanatory settings here. I used x86 architecture, because my devices had less than 4 GB of RAM.
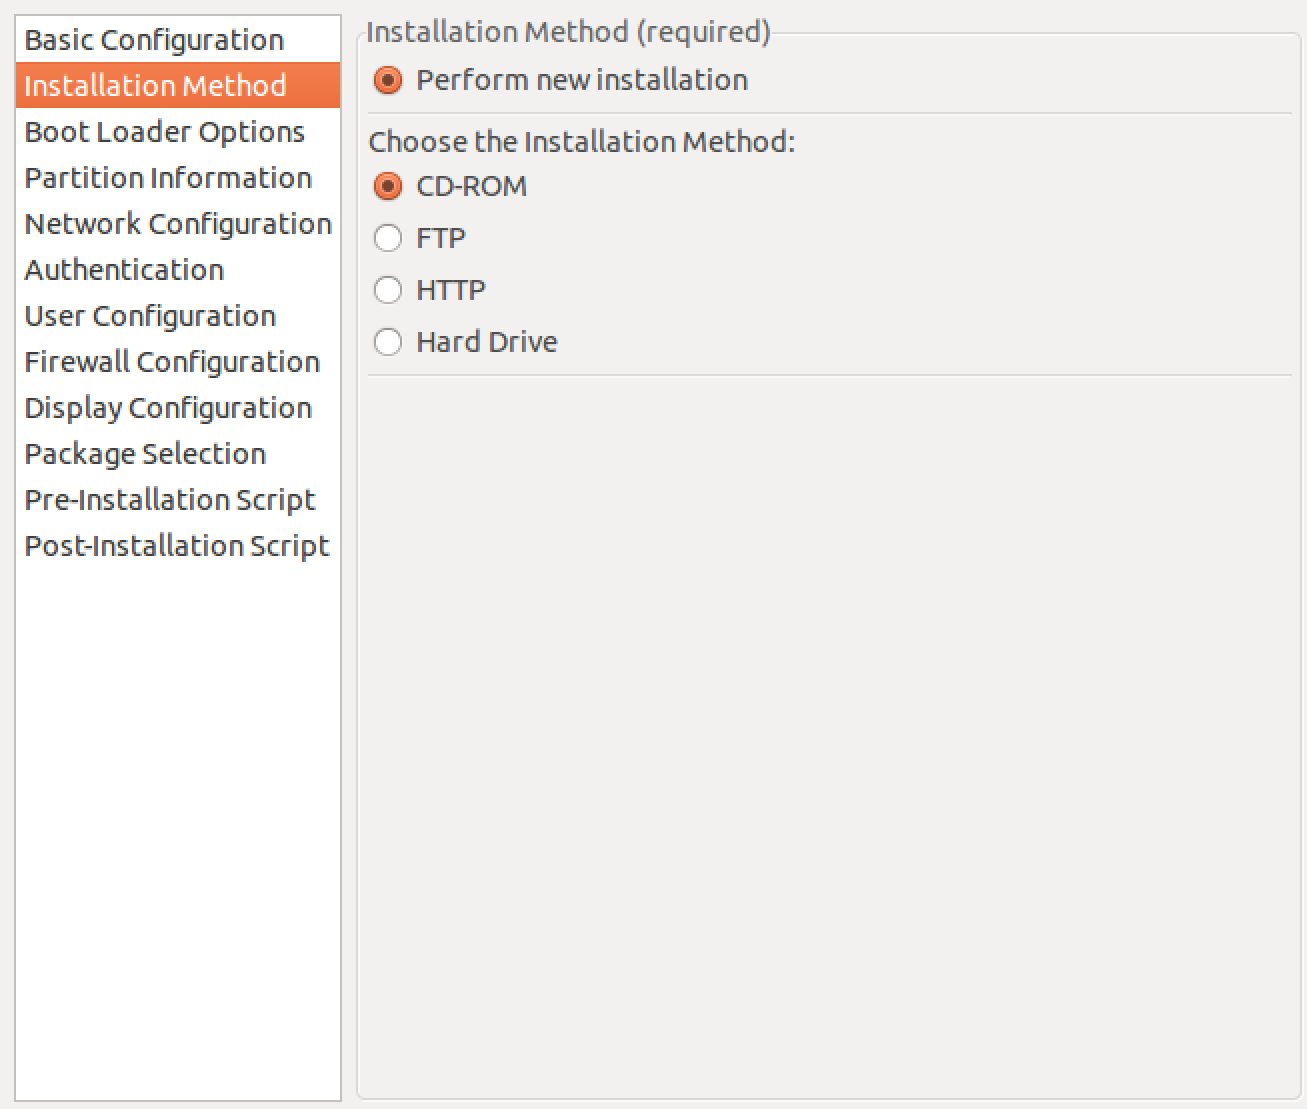
If you want to install Ubuntu from CD-ROM or USB like I did, choose CD-ROM. If you want to install it from ISO file stored on FTP, HTTP servers or hard drive, choose appropriate options.
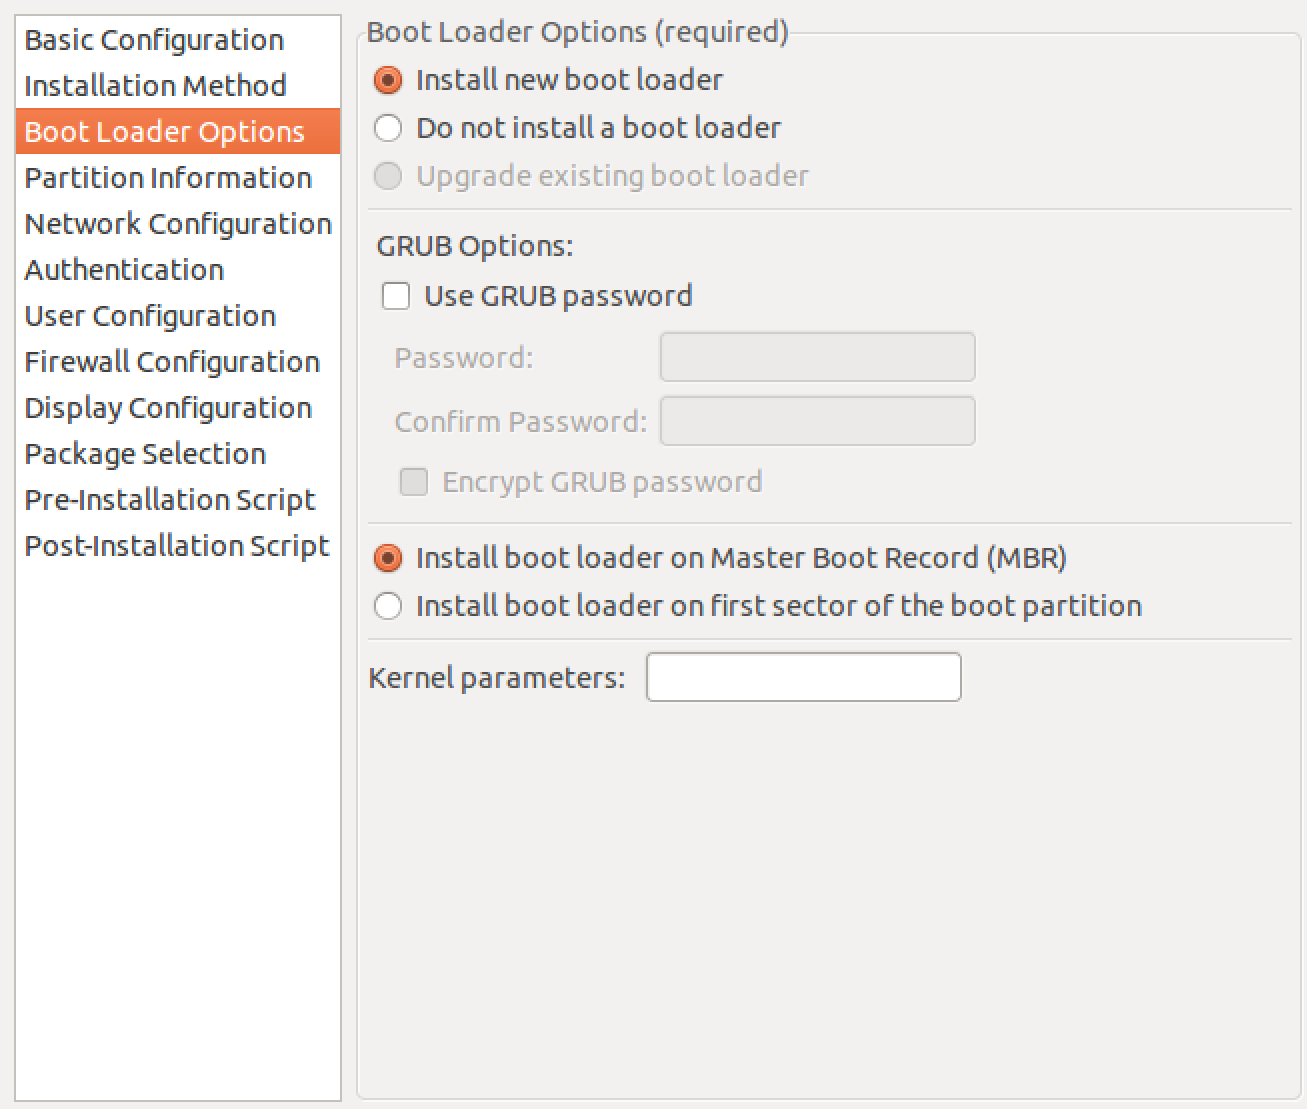
Keep boot loader options to default.
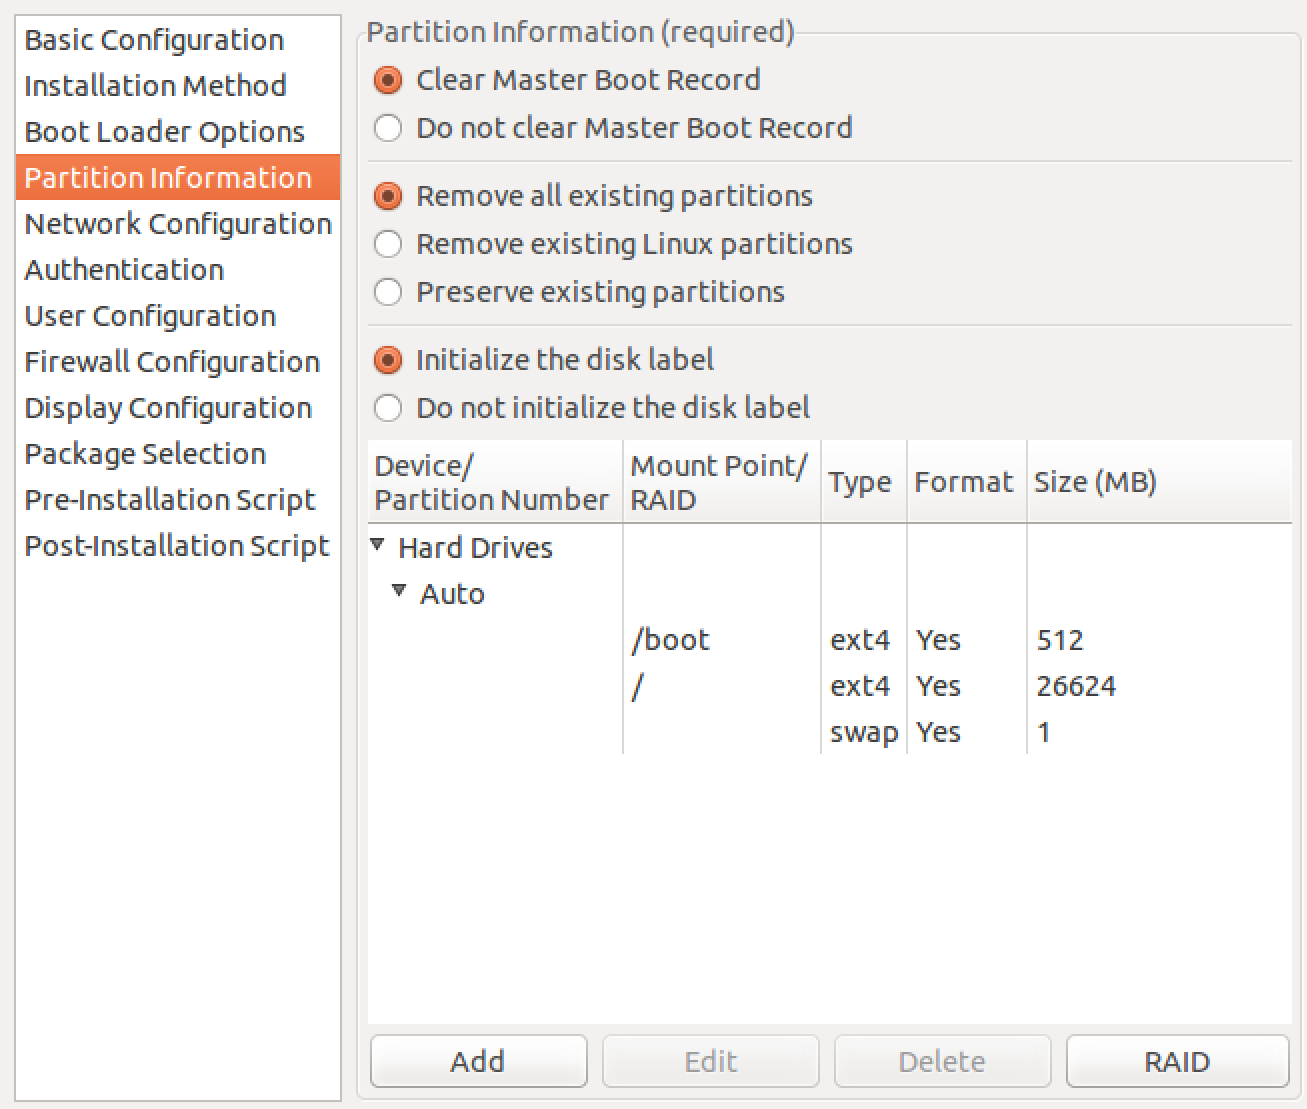
Be careful on this step and set the right partitioning information, because it can completely delete your current system. I installed Ubuntu on machines that had the same size HDDs with existing partitions. I just wanted to delete everything.
Make sure to create /boot, / and swap partitions. In this example the first two partitions are in fixed size and the last one is set to fill all remaining space for swap.
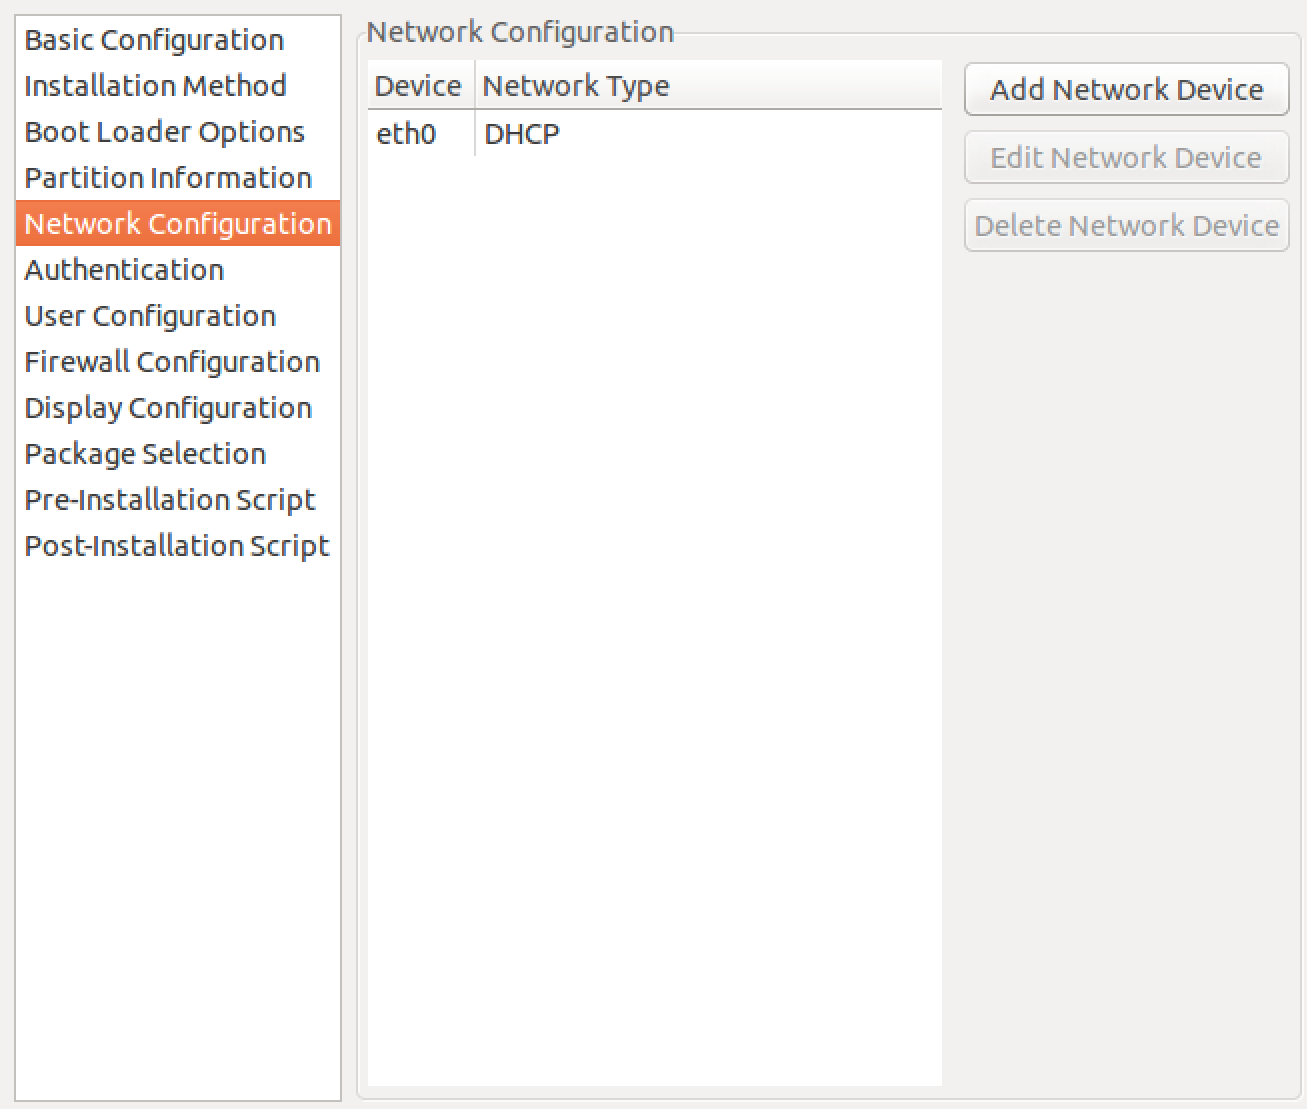
Choose Static or DHCP.
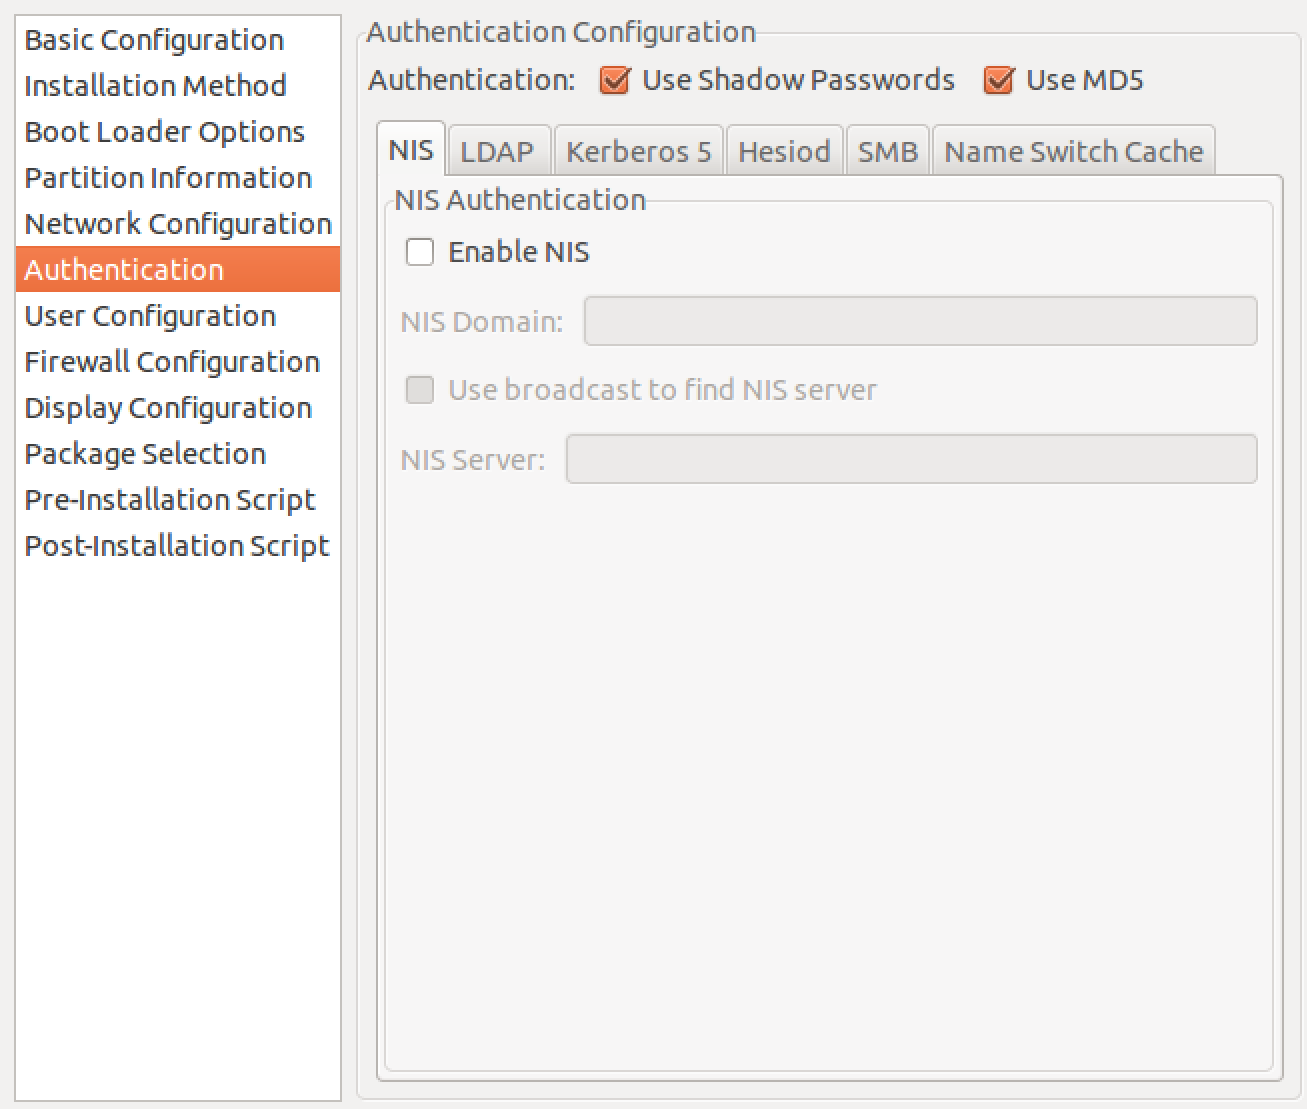
Kept the default settings.
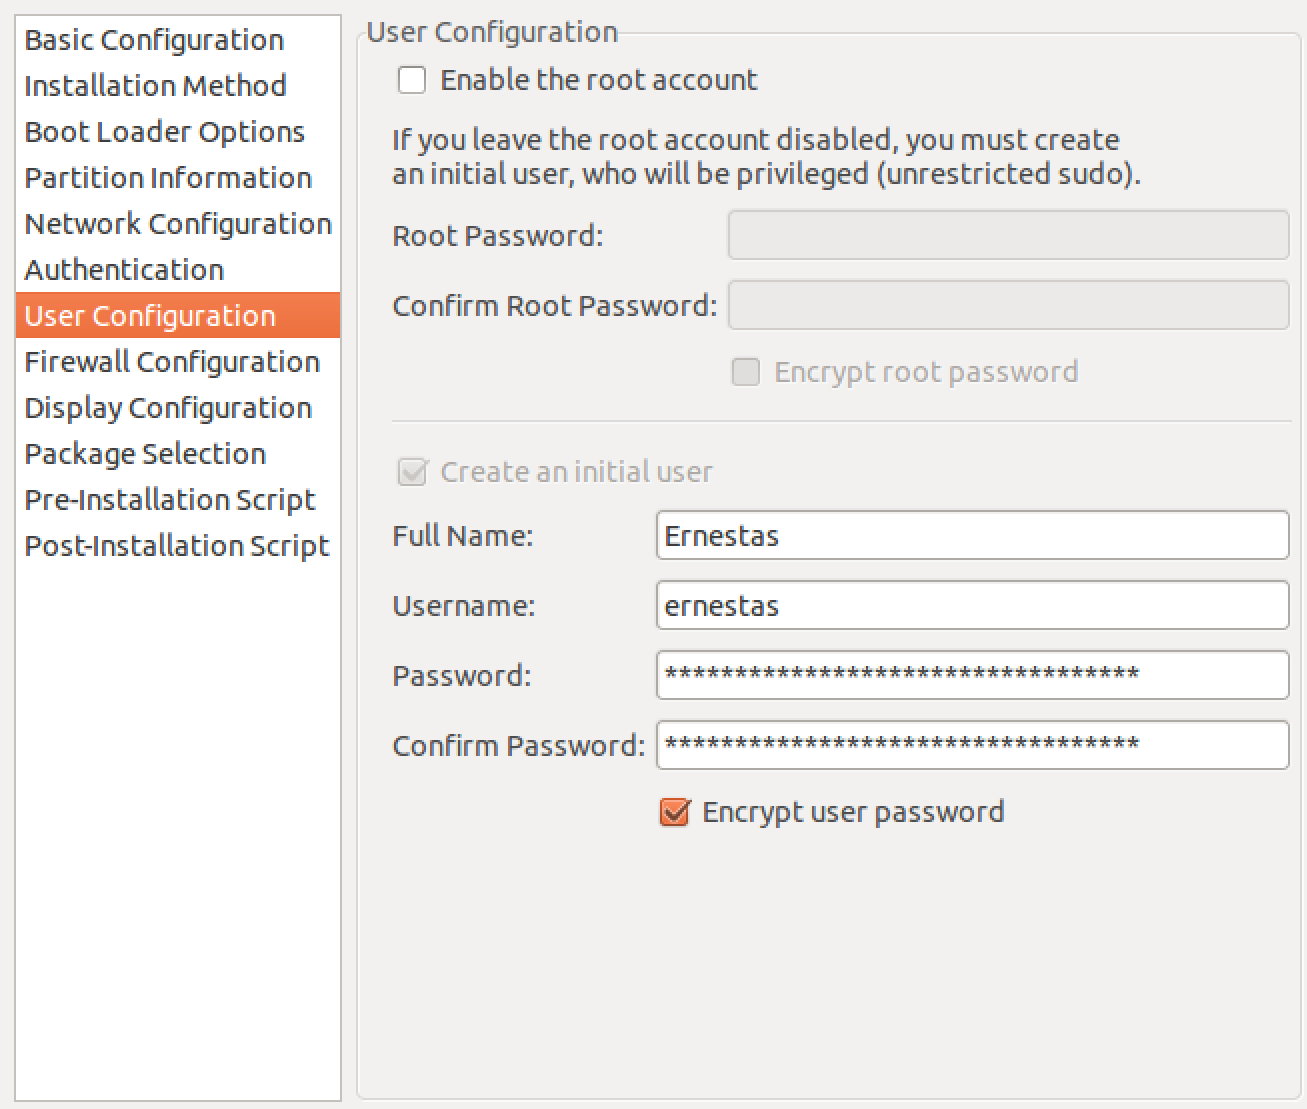
Enter your credentials. You can later change the password in ks.cfg file manually. If you chose to encrypt your password, the supported hash in Kickstart configuration is MD5. Use Open SSL command openssl passwd -1 *yourpassword* in Terminal to generate the new password.

Keep it disabled. Ubuntu doesn’t support firewall settings.
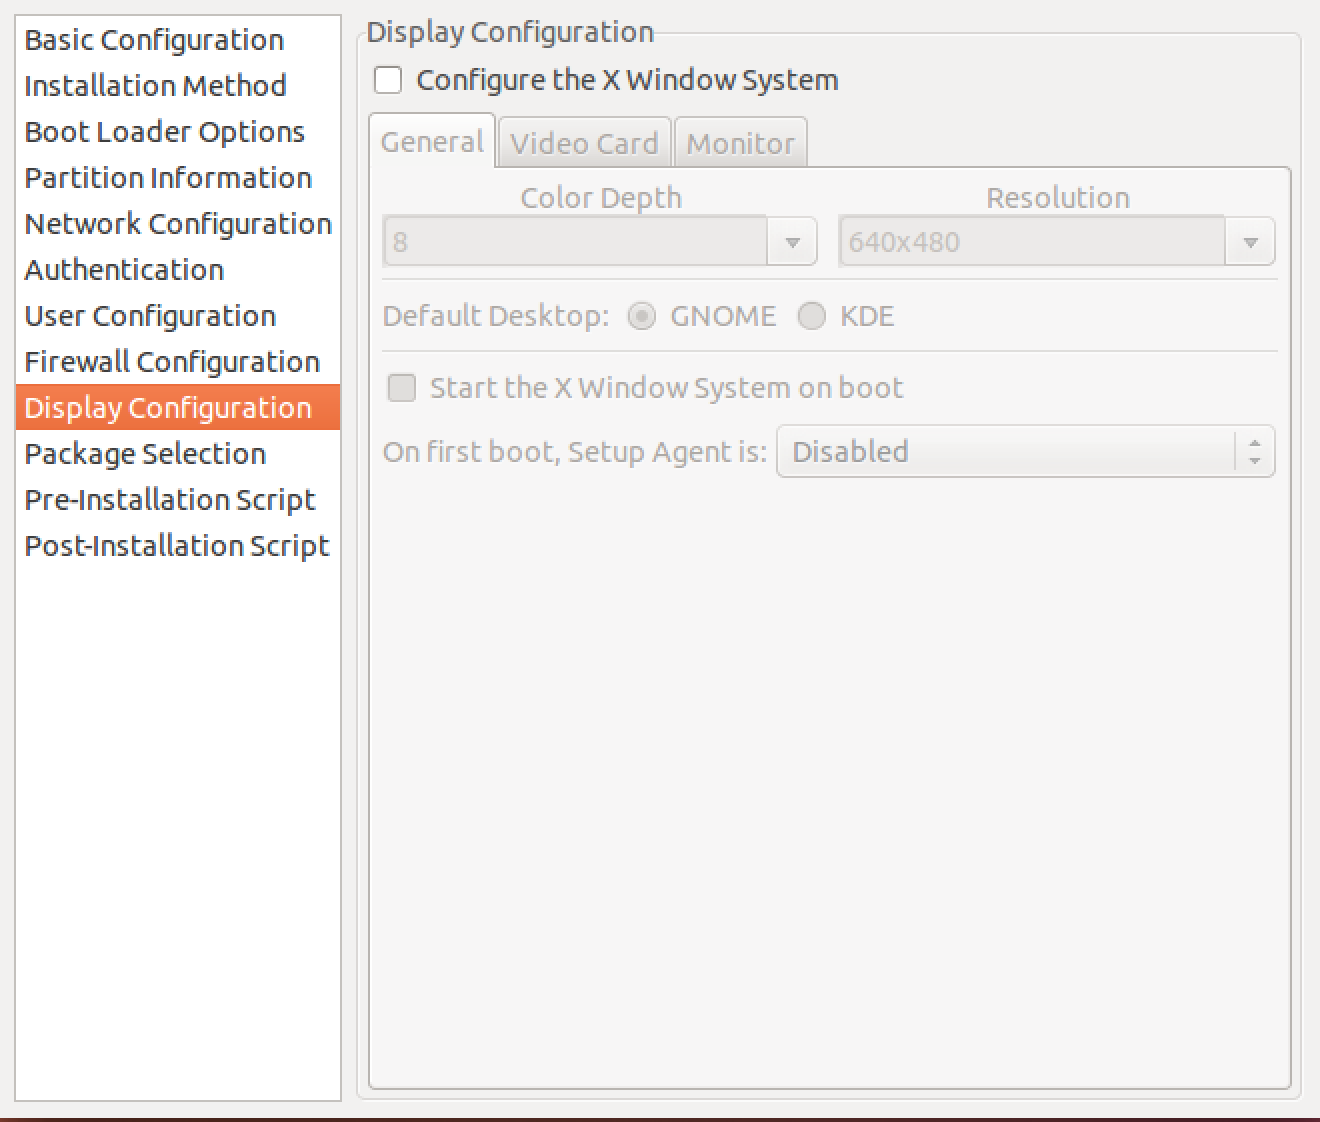
Do not configure the X Window System here. Ubuntu automatically solves this one anyway.
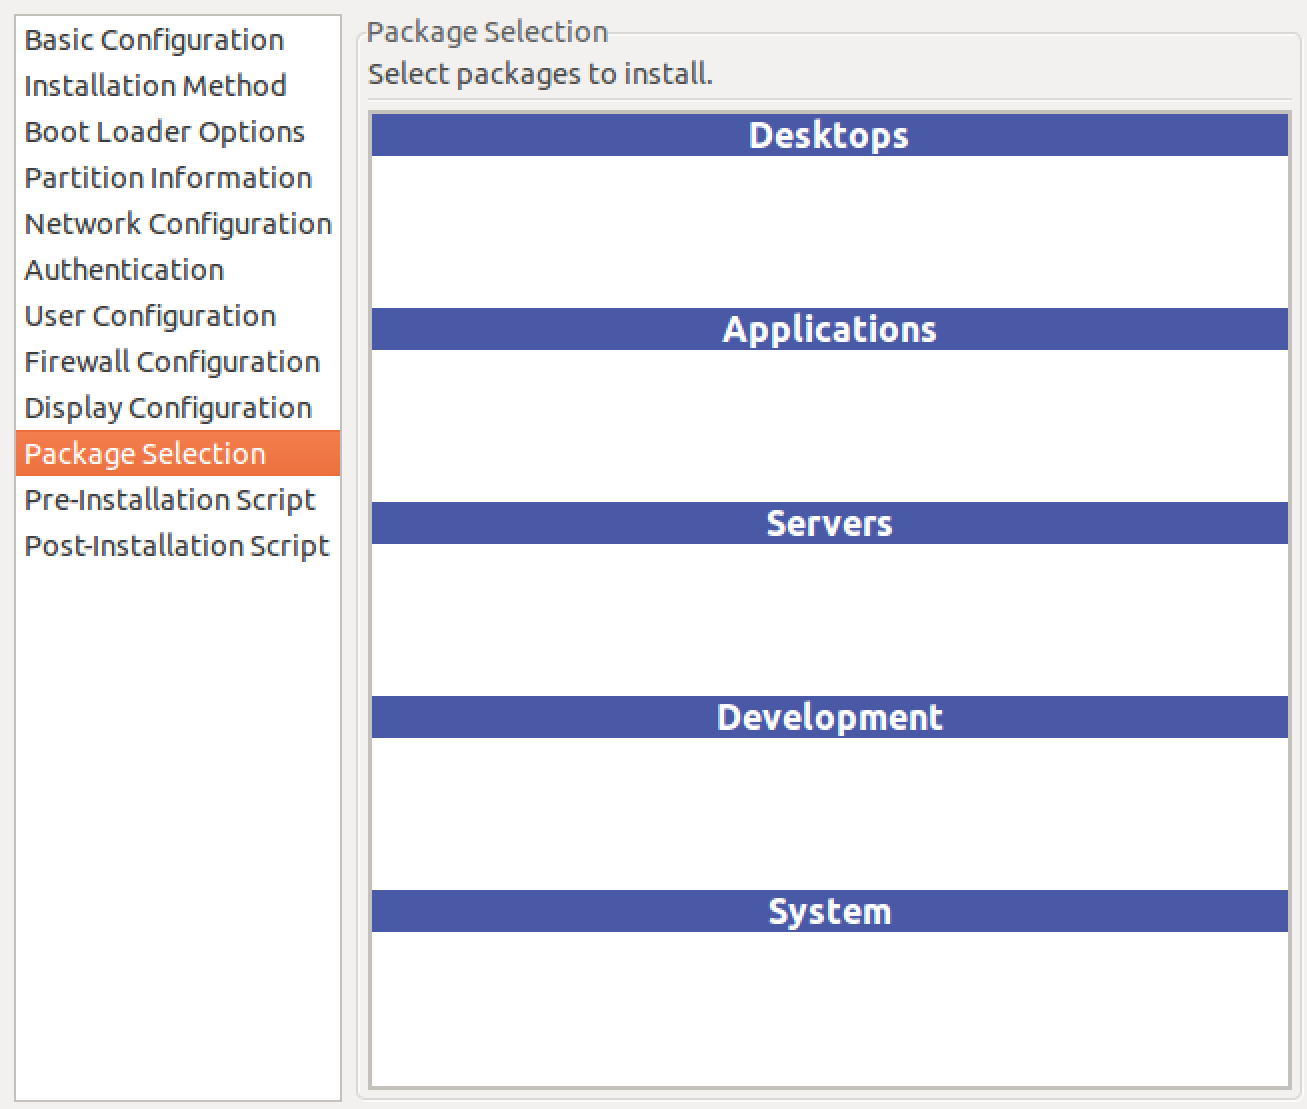
Ubuntu doesn’t support Kickstart package selection. We’ll add them manually to %packages section in ks.cfg file.
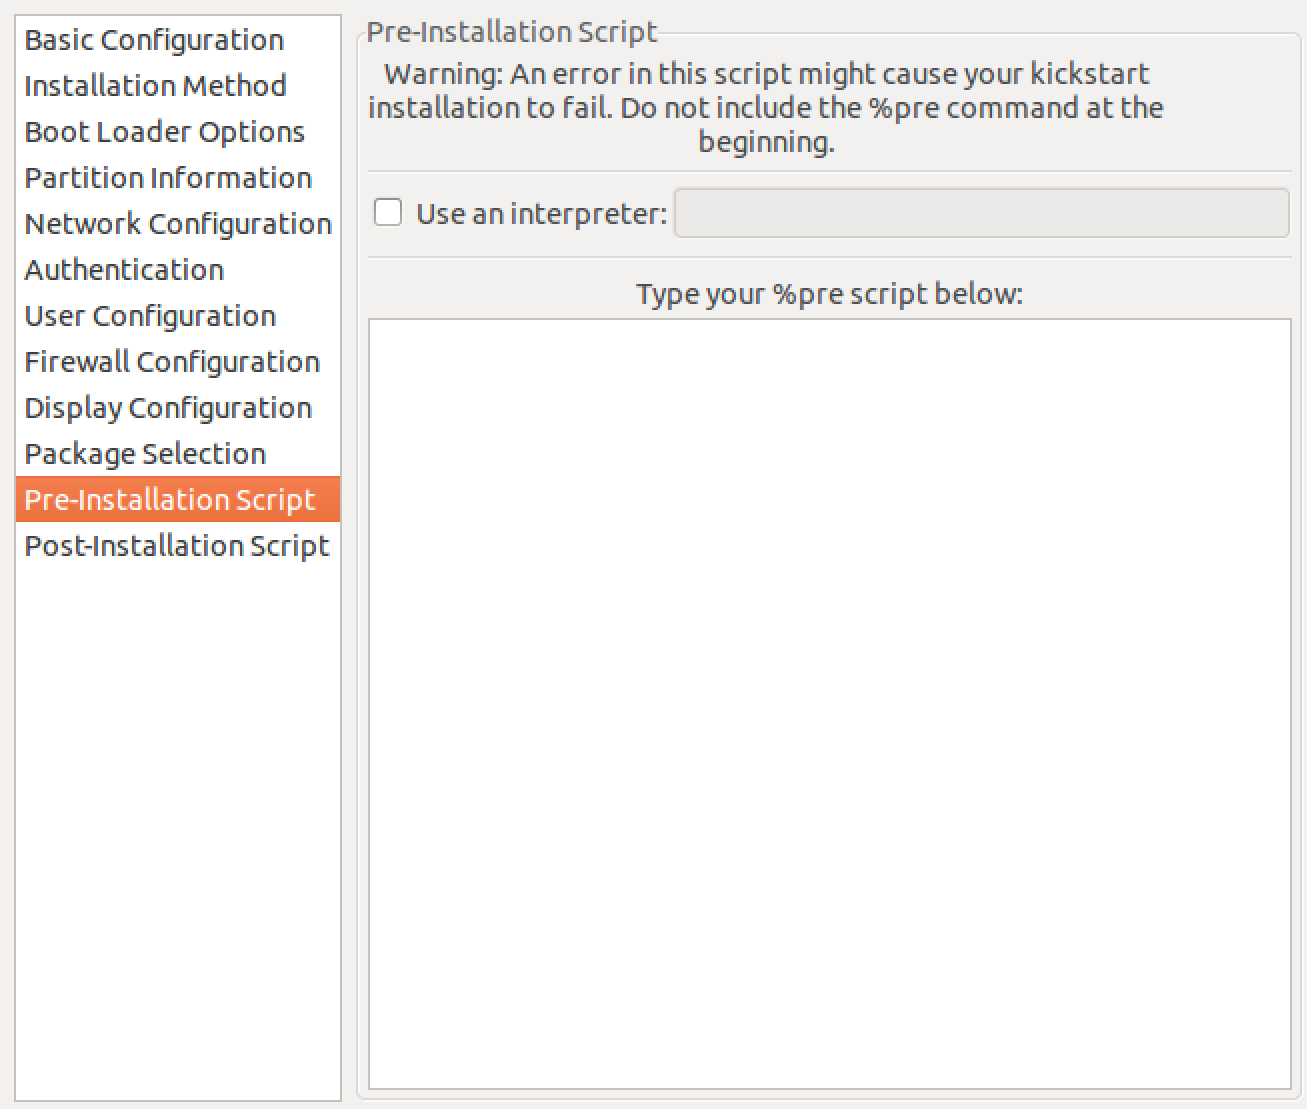
Write anything that you need to do before starting Kickstart installation.
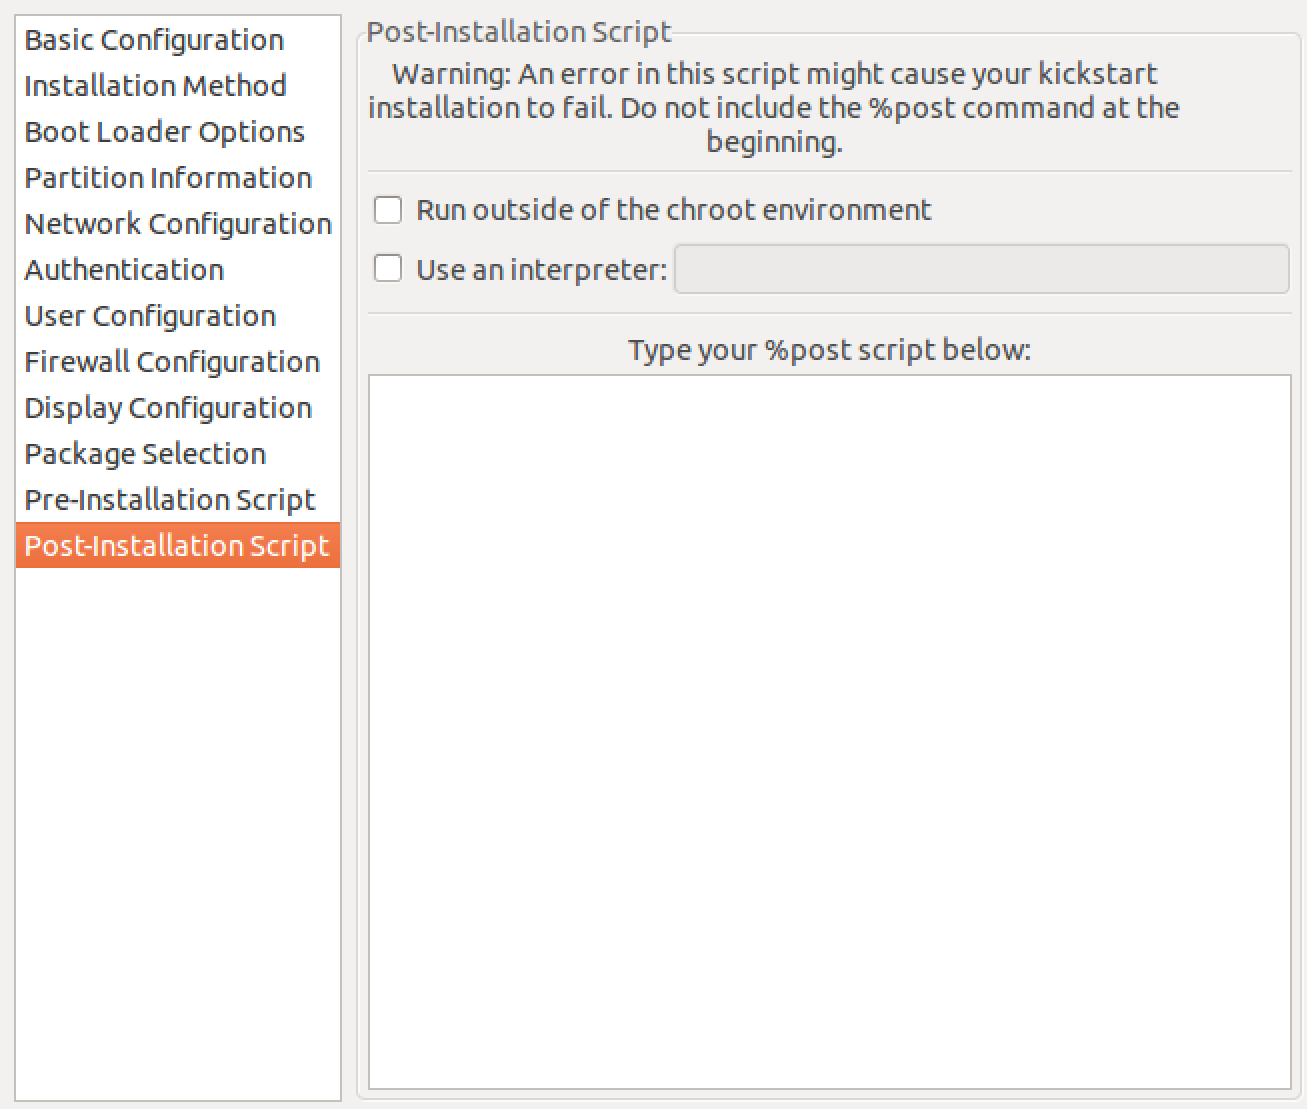
Write anything that you need to do after Kickstart installation. It executes the script in chroot environment, so you don’t need to use sudo.
When you are finished with the configuration, press File > Save File in the top menu. Keep default file name as ks.cfg and save it to your Desktop.
Here are the contents of my ks.cfg file:
#Generated by Kickstart Configurator
#platform=x86

#System language
lang en_US
#Language modules to install
langsupport lt_LT --default=en_US
#System keyboard
keyboard us
#System mouse
mouse
#System timezone
timezone Europe/Vilnius
#Root password
rootpw --disabled
#Initial user
user ernestas --fullname "Ernestas" --iscrypted --password $1$whDie5r9$aK.8Vk1rrF0ZL.WGqAjJE/
#Reboot after installation
reboot
#Use text mode install
text
#Install OS instead of upgrade
install
#Use CDROM installation media
cdrom
#System bootloader configuration
bootloader --location=mbr
#Clear the Master Boot Record
zerombr yes
#Partition clearing information
clearpart --all --initlabel
#Disk partitioning information.
part /boot --fstype ext4 --size 512
part / --fstype ext4 --size 26624
part swap --size 1 --grow
#System authorization infomation
auth  --useshadow  --enablemd5
#Network information
network --bootproto=dhcp --device=eth0
#Firewall configuration
firewall --disabled
# Do not configure the X Window System
skipx

# Additional packages to install.
%packages
ca-certificates
openssl
python
wget
tcpd
openssh-server
curl
screen
vim
ubuntu-desktop
gnome

# Add your custom post installation script here. It's not necessary, but you can add something depending on your needs. Here's my script:
%post
# Turn on automatic login for user ernestas.
sed -i '/#  AutomaticLogin/ s/^#  //;s/user1/ernestas/g' /etc/gdm/custom.conf

# Define variables for Gnome settings file.
settingsDir=/usr/share/glib-2.0/schemas
settingsFile=gnome-tweaks.gschema.override
settingsFileWithDir=$settingsDir/$settingsFile

# Create a file for Gnome settings, which will later be compiled in this script.
touch $settingsFileWithDir

# Enable VNC
echo "[org.gnome.Vino]" >> $settingsFileWithDir
echo "authentication-methods=['vnc']" >> $settingsFileWithDir
echo "enabled=true" >> $settingsFileWithDir
echo "require-encryption=false" >> $settingsFileWithDir
echo "prompt-enabled=false" >> $settingsFileWithDir
echo "vnc-password='bXVjaGhhY2tlcndvdw=='" >> $settingsFileWithDir

# Turn off screen lock
echo "" >> $settingsFileWithDir
echo "[org.gnome.desktop.screensaver]" >> $settingsFileWithDir
echo "lock-enabled=false" >> $settingsFileWithDir

# Turn off screen timeout
echo "" >> $settingsFileWithDir
echo "[org.gnome.desktop.session]" >> $settingsFileWithDir
echo "idle-delay=0" >> $settingsFileWithDir

# Change default favorite applications
echo "[org.gnome.shell]" >> $settingsFileWithDir
echo "favorite-apps=['google-chrome.desktop','gnome-terminal.desktop','nautilus.desktop']" >> $settingsFileWithDir

# Compile Gnome settings
glib-compile-schemas $settingsDir

# Turn on Wake-on-LAN
ethtool -s eth0 wol g

# Enable shutdown and updates for ernestas without password
echo "" >> /etc/sudoers
echo "#Custom rules" >> /etc/sudoers
echo "ernestas ALL = NOPASSWD: /sbin/shutdown" >> /etc/sudoers
echo "ernestas ALL = NOPASSWD: /usr/bin/apt-get" >> /etc/sudoers

# Install Google Chrome
wget https://dl.google.com/linux/direct/google-chrome-stable_current_i386.deb
dpkg -i google-chrome-stable_current_i386.deb

# Delete Chrome install
rm google-chrome-stable_current_i386.deb

# Clean
apt-get -f -y install
apt-get -y autoremove
apt-get clean
2. Create Preseed file
Pressed commands work when they are directly written inside the Kickstart file, but I wanted to separate the two methods for you to see clear boundaries between them. Create new file name ubuntu-auto.seed and include the following contents:
# Unmount drives with active partitions. Without this command all the installation process would stop and require confirmation to unmount drives that are already mounted.
d-i preseed/early_command string umount /media || true

# Don't install recommended items
d-i preseed base-installer/install-recommends boolean false

# Install only security updates automatically
d-i preseed pkgsel/update-policy select unattended-upgrades
For additional Preseed configuration options, refer to official Ubuntu installation guide.
3. Extract original ISO file
Download Ubuntu Server 14.04.3 from Ubuntu website. It is necessary to use server version, because desktop version doesn’t support unattended installations. Desktop functionality will work after we install ubuntu-desktop package in %packages section.
Mount .iso file to Ubuntu filesystem using Terminal. The command below will mount .iso file to the folder named ubuntu_iso on your desktop.
cd Desktop
mkdir ubuntu_iso
sudo mount -o loop ~/Downloads/ubuntu-14.04.3-server-i386.iso ubuntu_iso
Copy .iso contents to another folder on your desktop so we can edit the files. Don’t forget to set the right permissions to be able to make changes.
mkdir ubuntu_files
sudo rsync -a ubuntu_iso/ ubuntu_files/
sudo chmod -R 755 ubuntu_files
sudo chown -R ernestas:ernestas ubuntu_files
4. Edit contents of ISO
Copy ks.cfg and ubuntu-auto.seed files to newly created ubuntu_files folder.
Now we need to make the installer read Kickstart and Preseed files by including new menu selection for automatic Ubuntu installation. To do this, open file named txt.cfg in isolinux folder using your favorite text editor and copy this block of text after the line default install:
label autoinstall
  menu label ^Automatically install Ubuntu
  kernel /install/vmlinuz
  append file=/cdrom/preseed/ubuntu-server.seed vga=788 initrd=/install/initrd.gz ks=cdrom:/ks.cfg preseed/file=/cdrom/ubuntu-auto.seed quiet --
Turn off language choice menu and specify your desired language:
echo en >>ubuntu_files/isolinux/lang
You can also use text editor for this. Just create the file named lang with the contents en and save it to isolinux folder.
5. Recreate ISO file and make bootable USB media
Create new ISO:
$ cd ubuntu_files
$ mkisofs -D -r -V “ubuntu-auto” -cache-inodes -J -l -b isolinux/isolinux.bin -c isolinux/boot.cat -no-emul-boot -boot-load-size 4 -boot-info-table -o ~/Desktop/ubuntu-auto.iso .
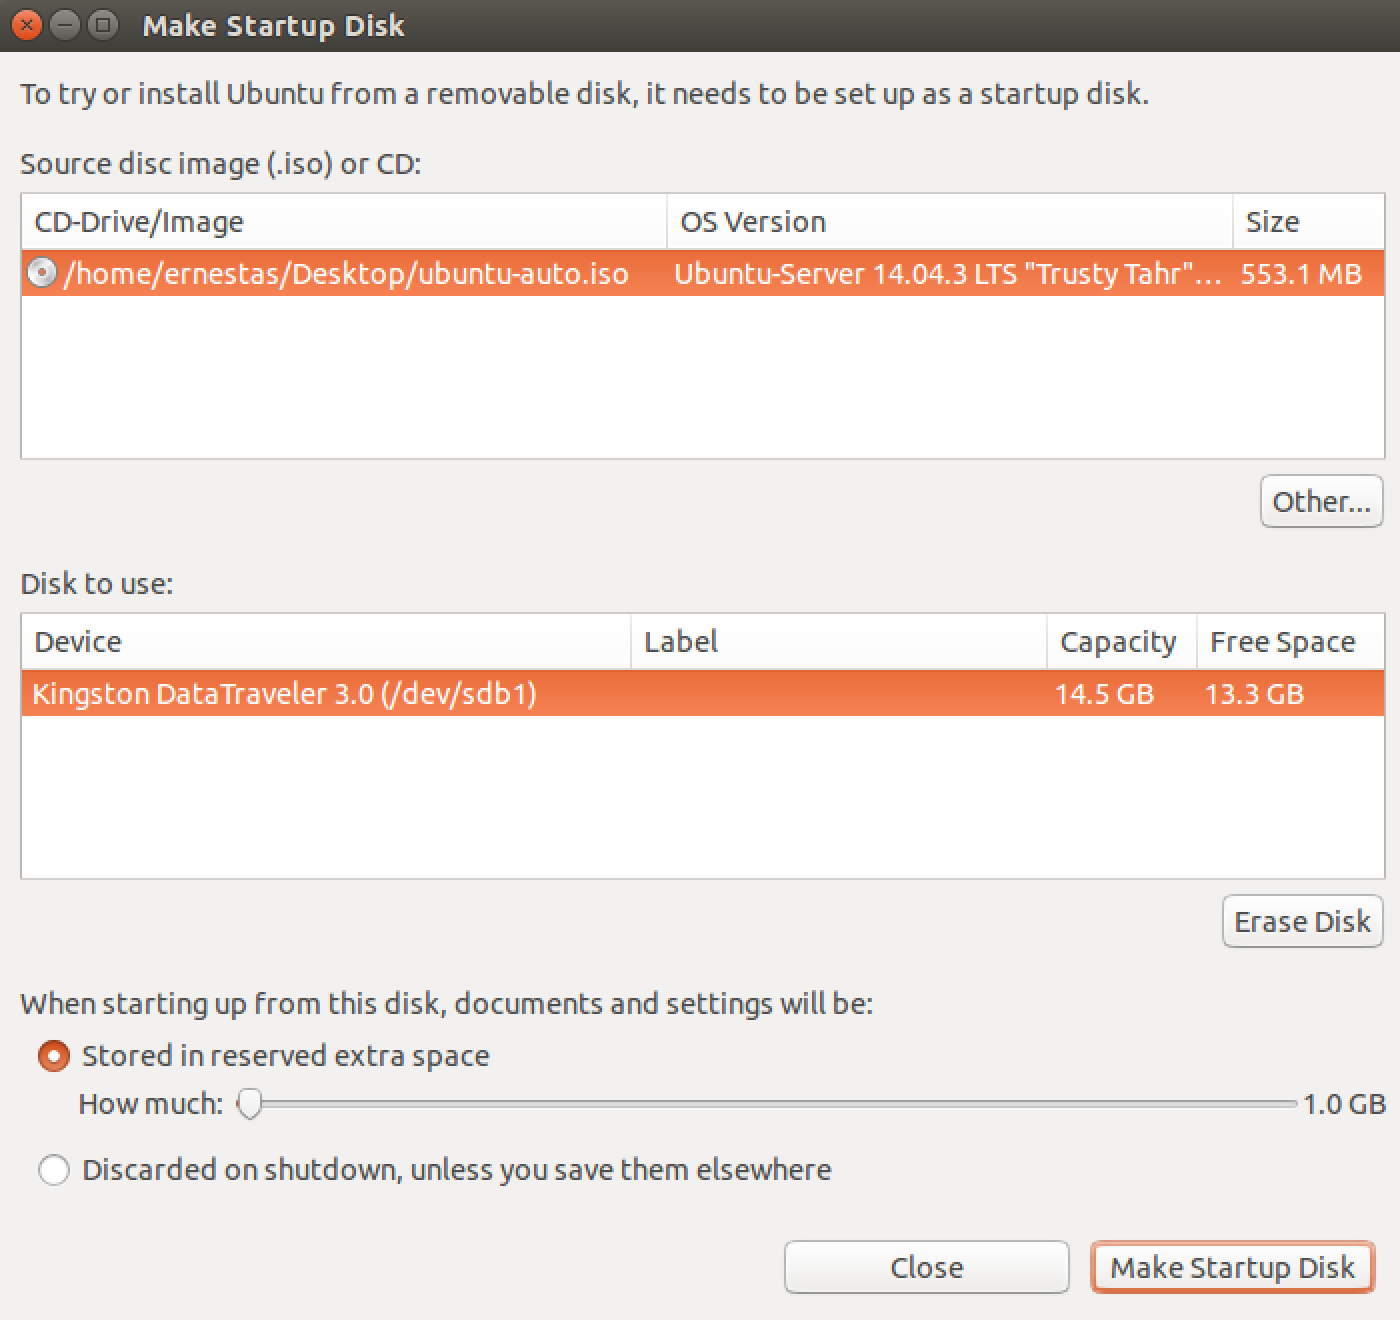
Create bootable USB media using Ubuntu Startup Disk Creator from newly created ubuntu-auto.iso file :
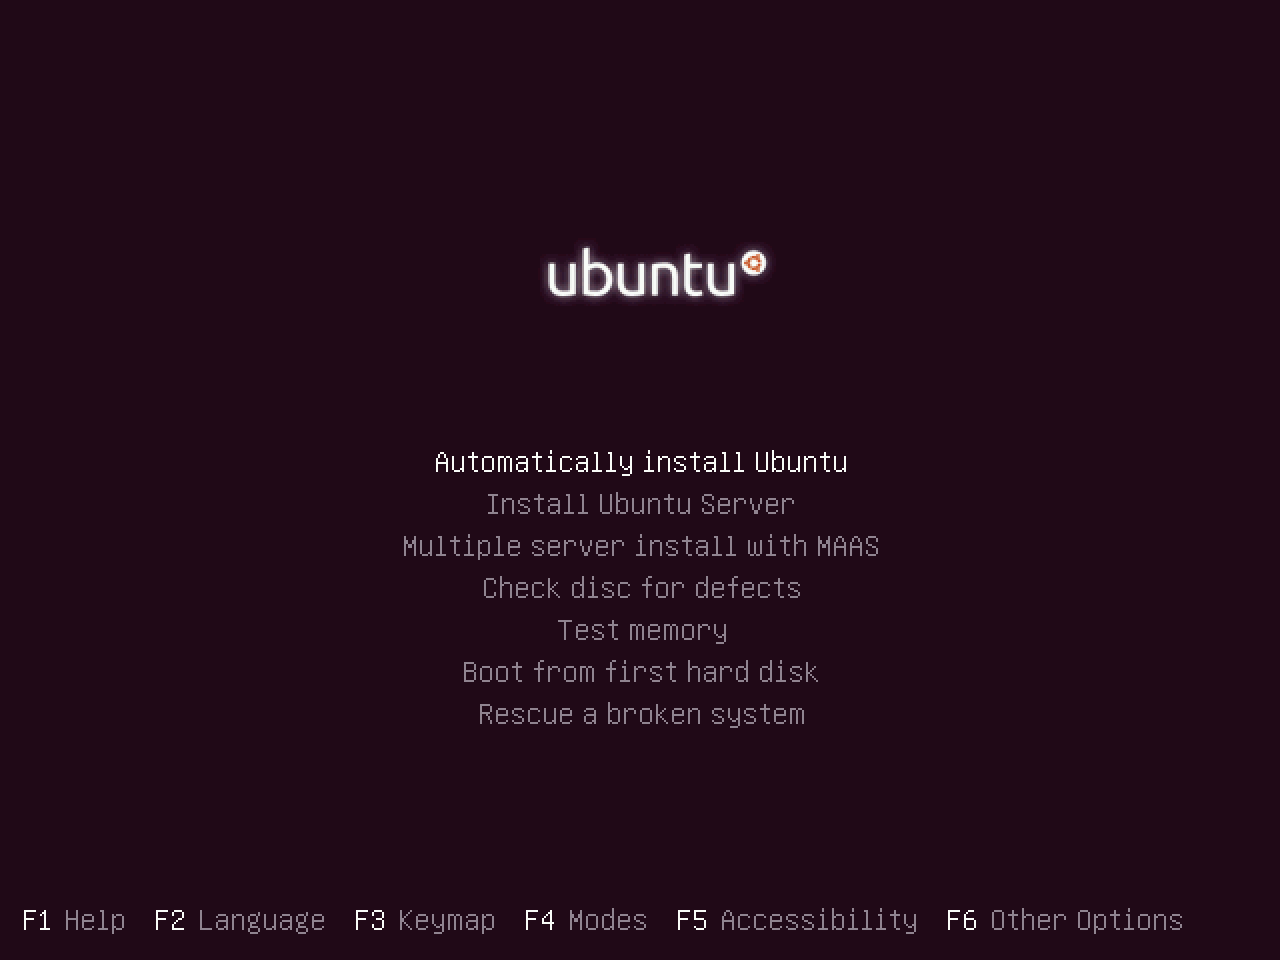
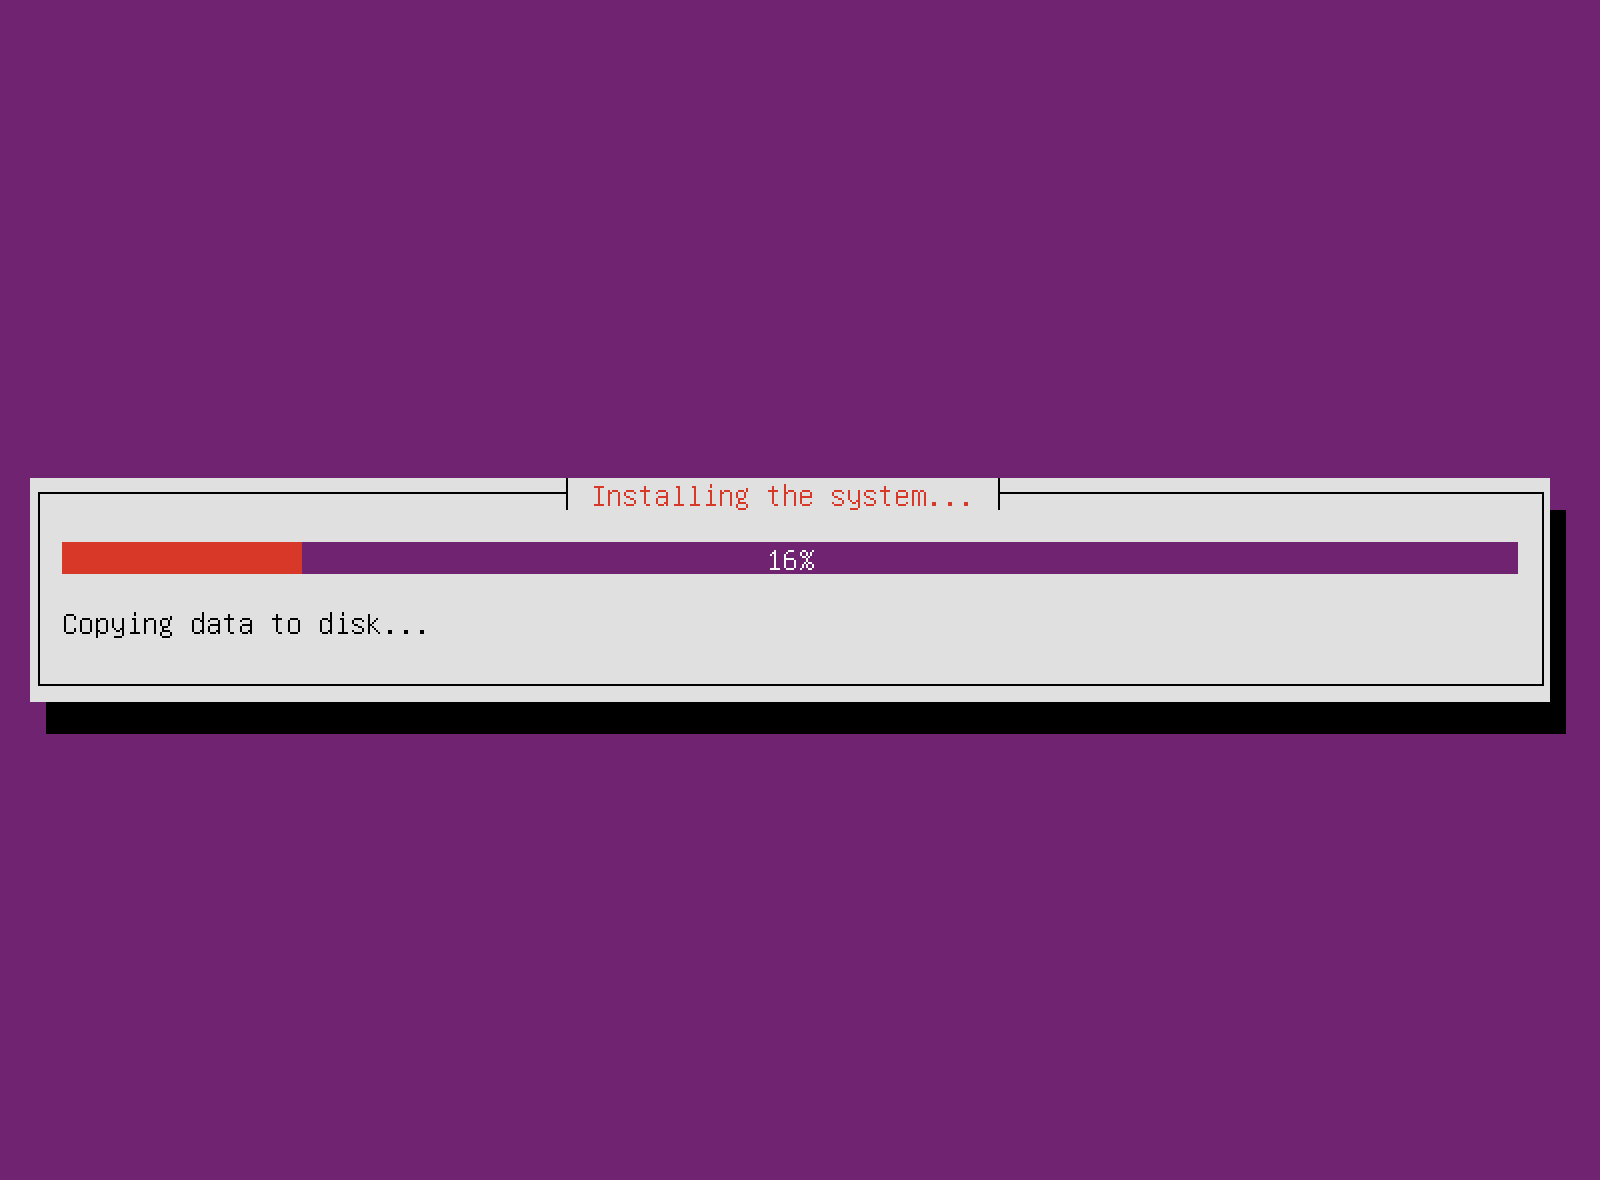
After booting into USB, you should see something like this:
Press Enter and relax! The whole process will be seen as below, but you won’t need to do anything.
-
Tested using Ubuntu Server 14.04.03 on Ubuntu Desktop 14.04.03. ↩