Working From Home: Building Custom Standing Desk
During the pandemic, I got a standing desk from my work office. The plain white desk reminded me of the place where it came from: my office. It needed some upgrades.
Here is a short DYI project for building a custom standing desk.
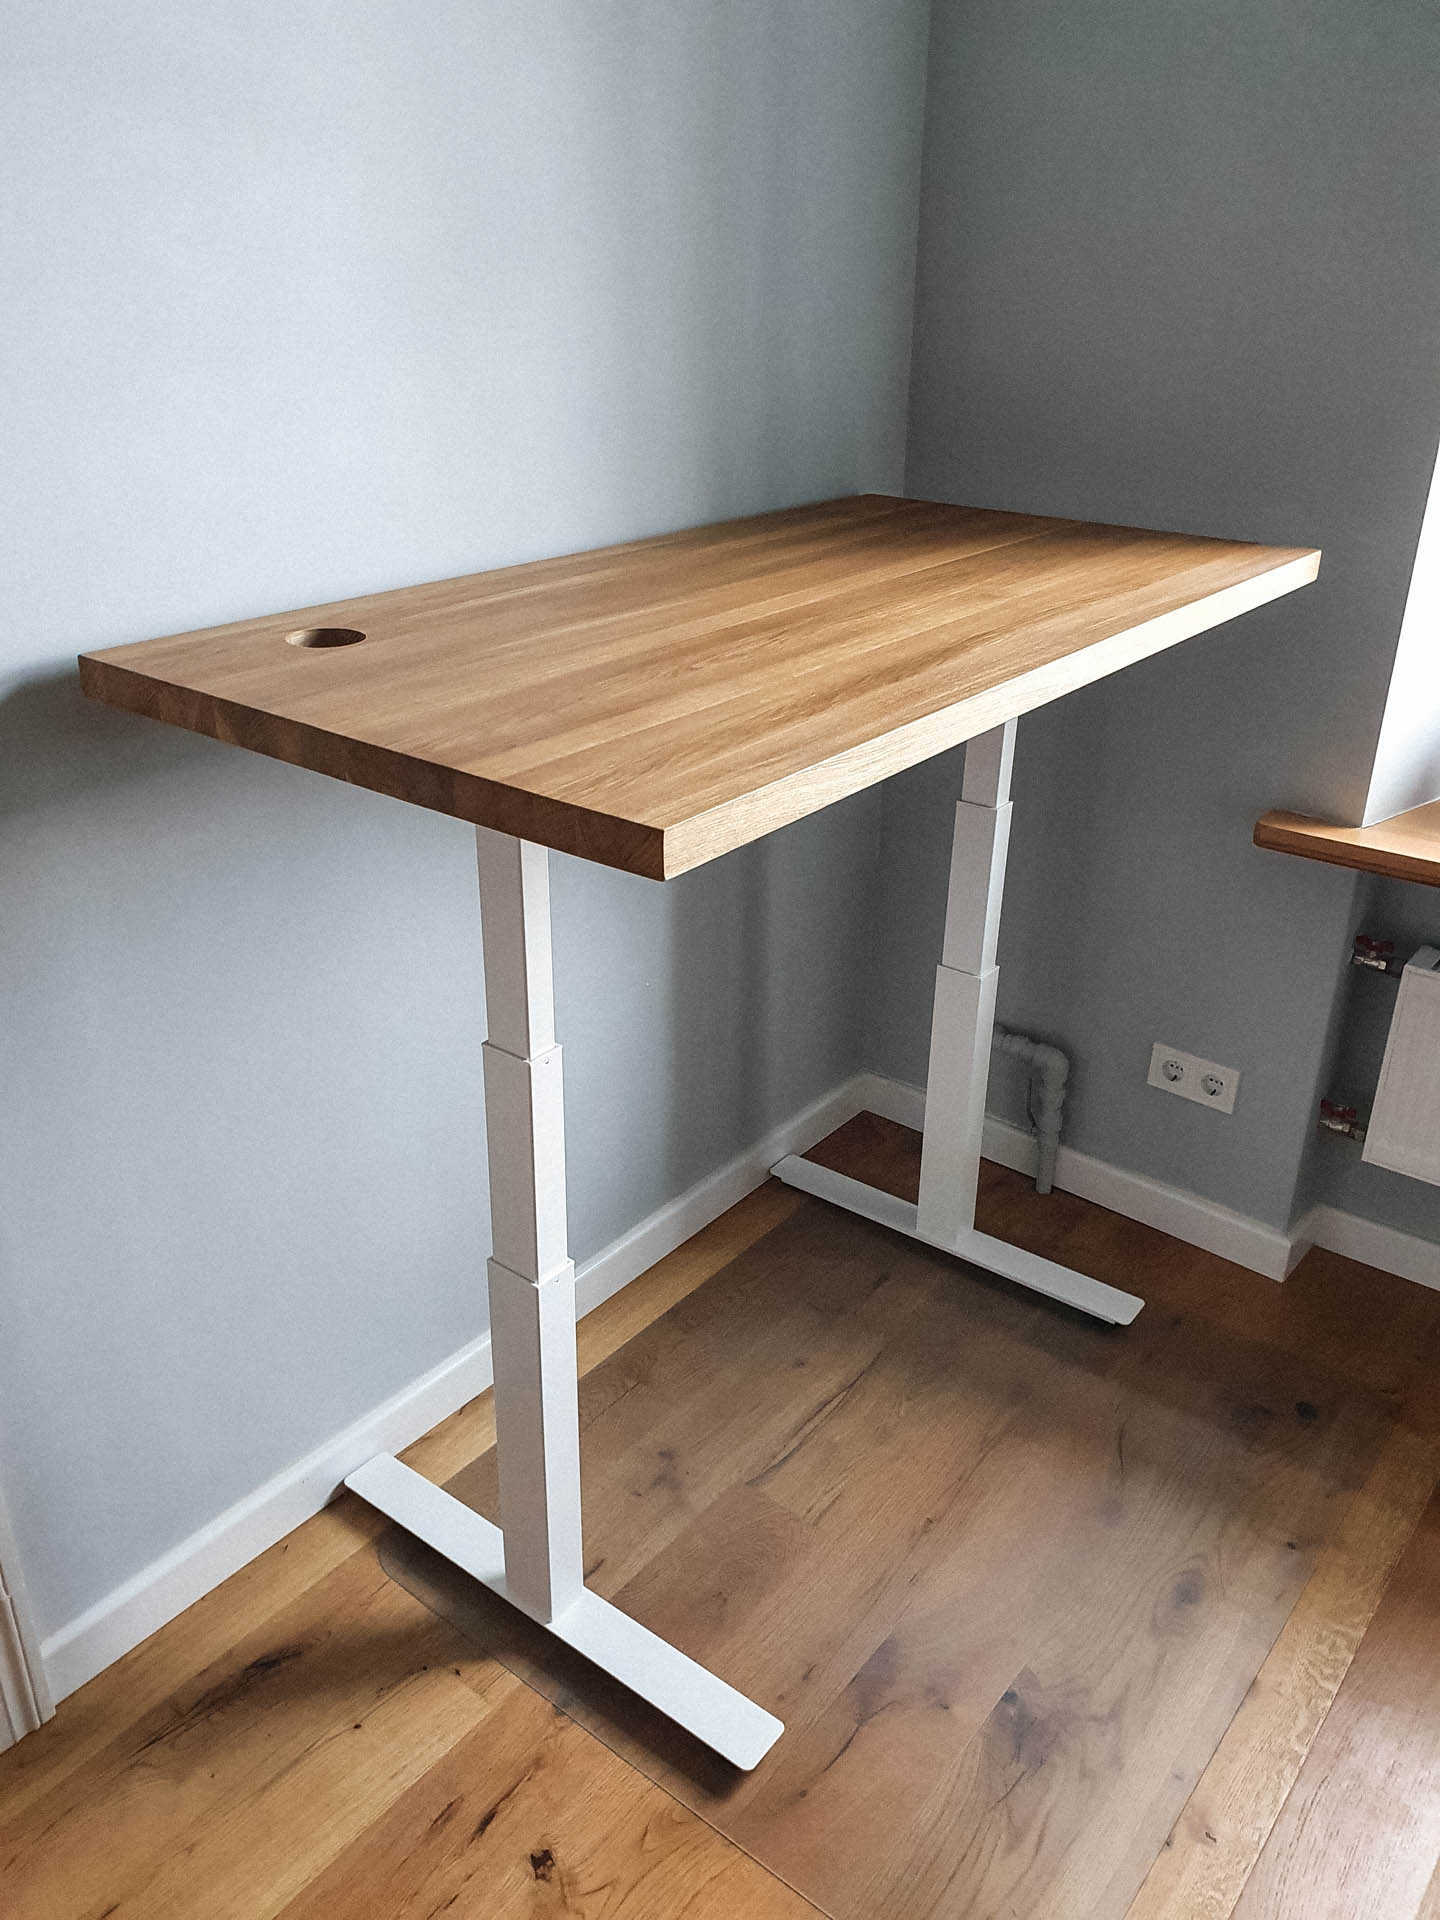
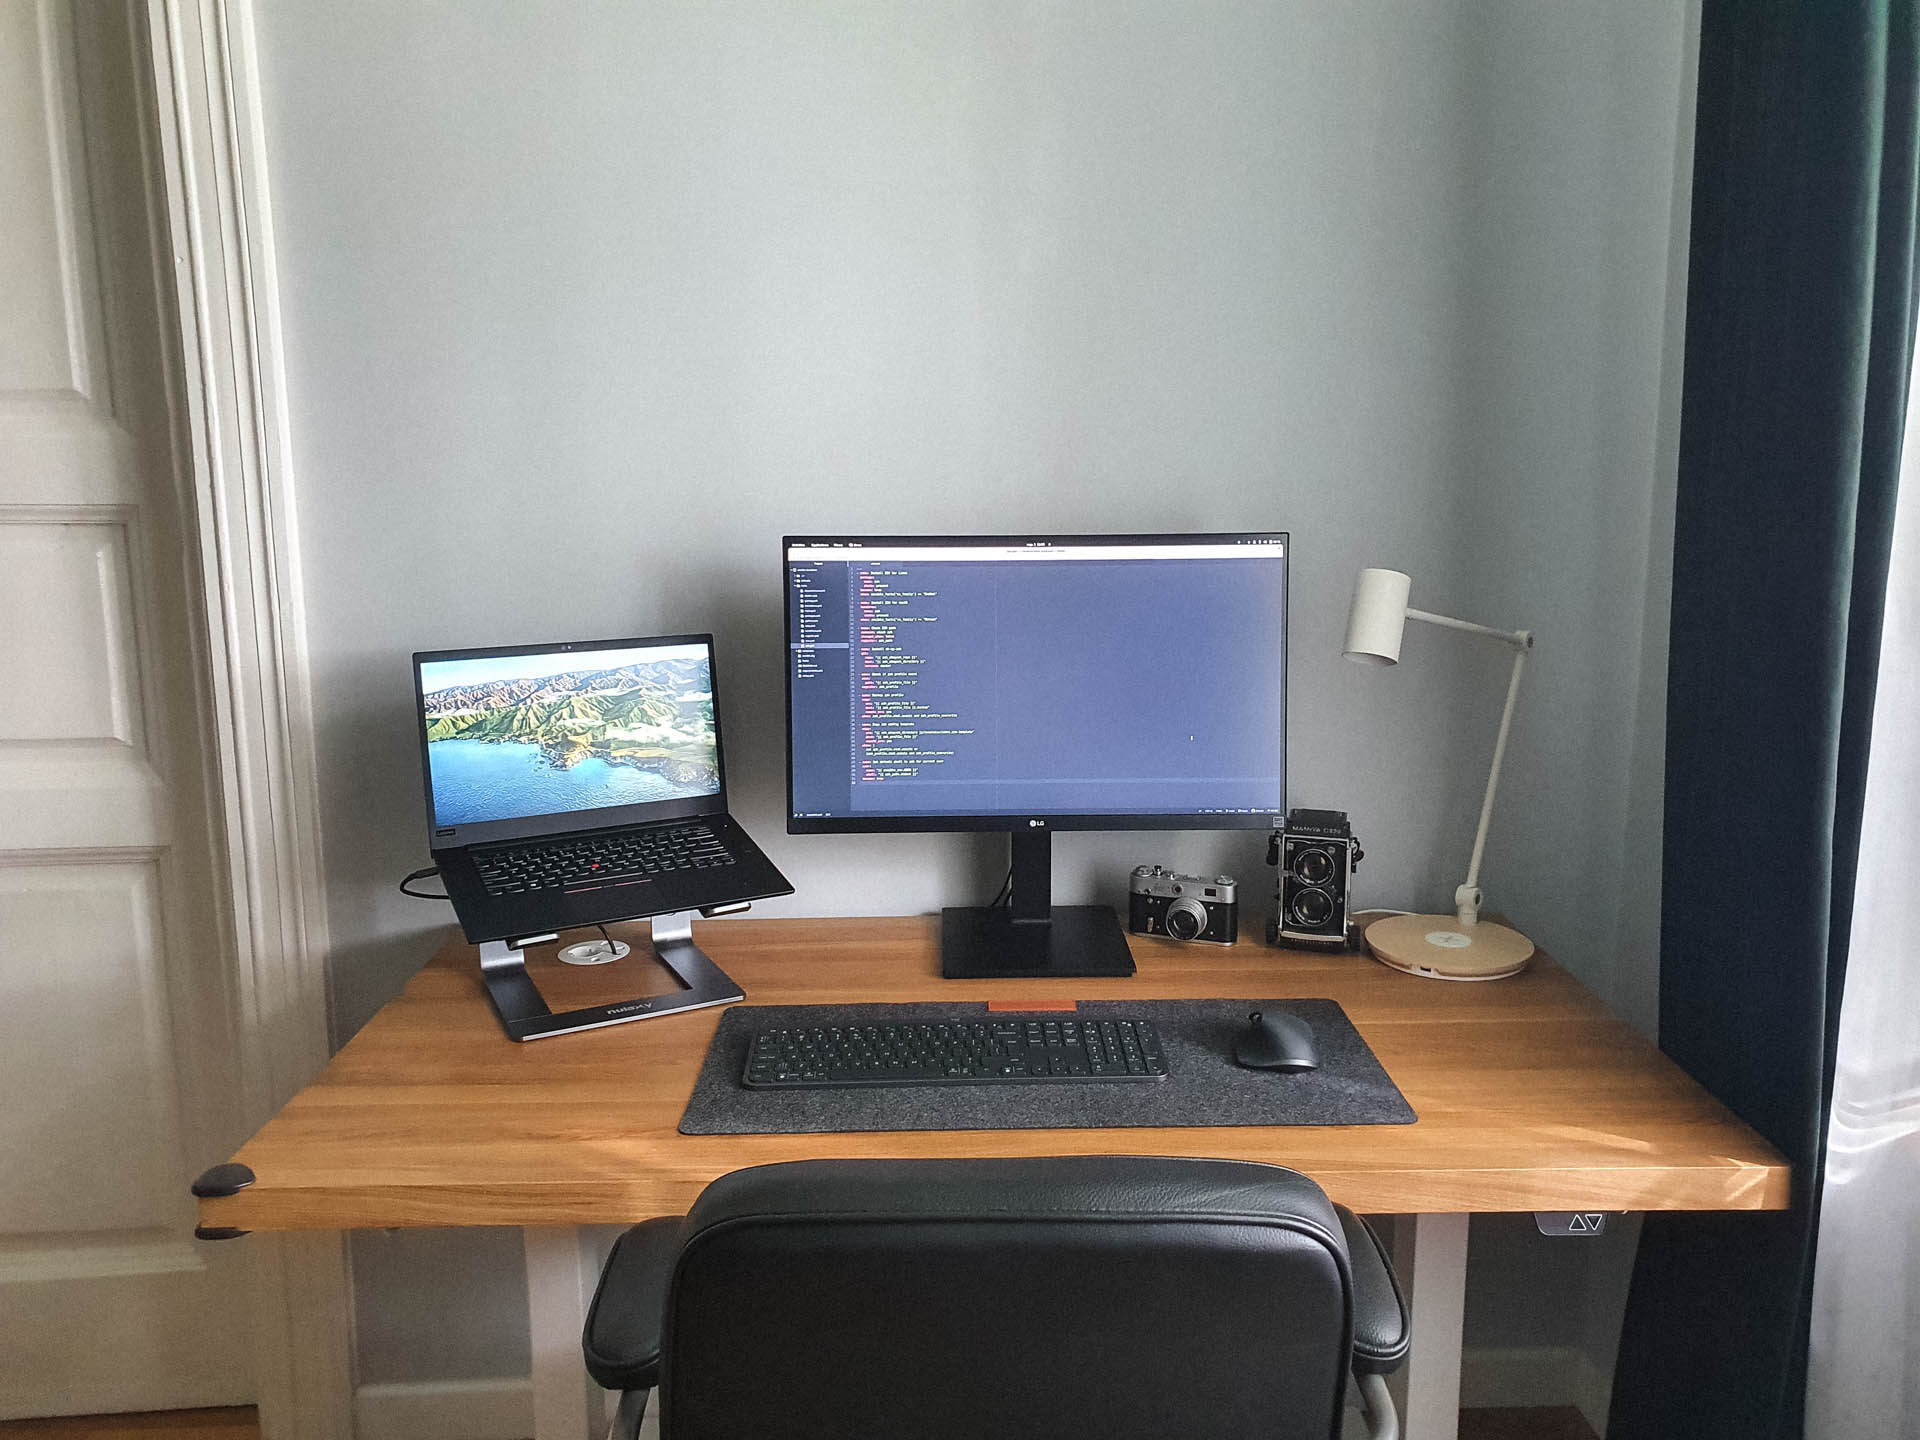 Here is how my home office corner looks now with fully assembled
desk and custom made oak top.
Here is how my home office corner looks now with fully assembled
desk and custom made oak top.
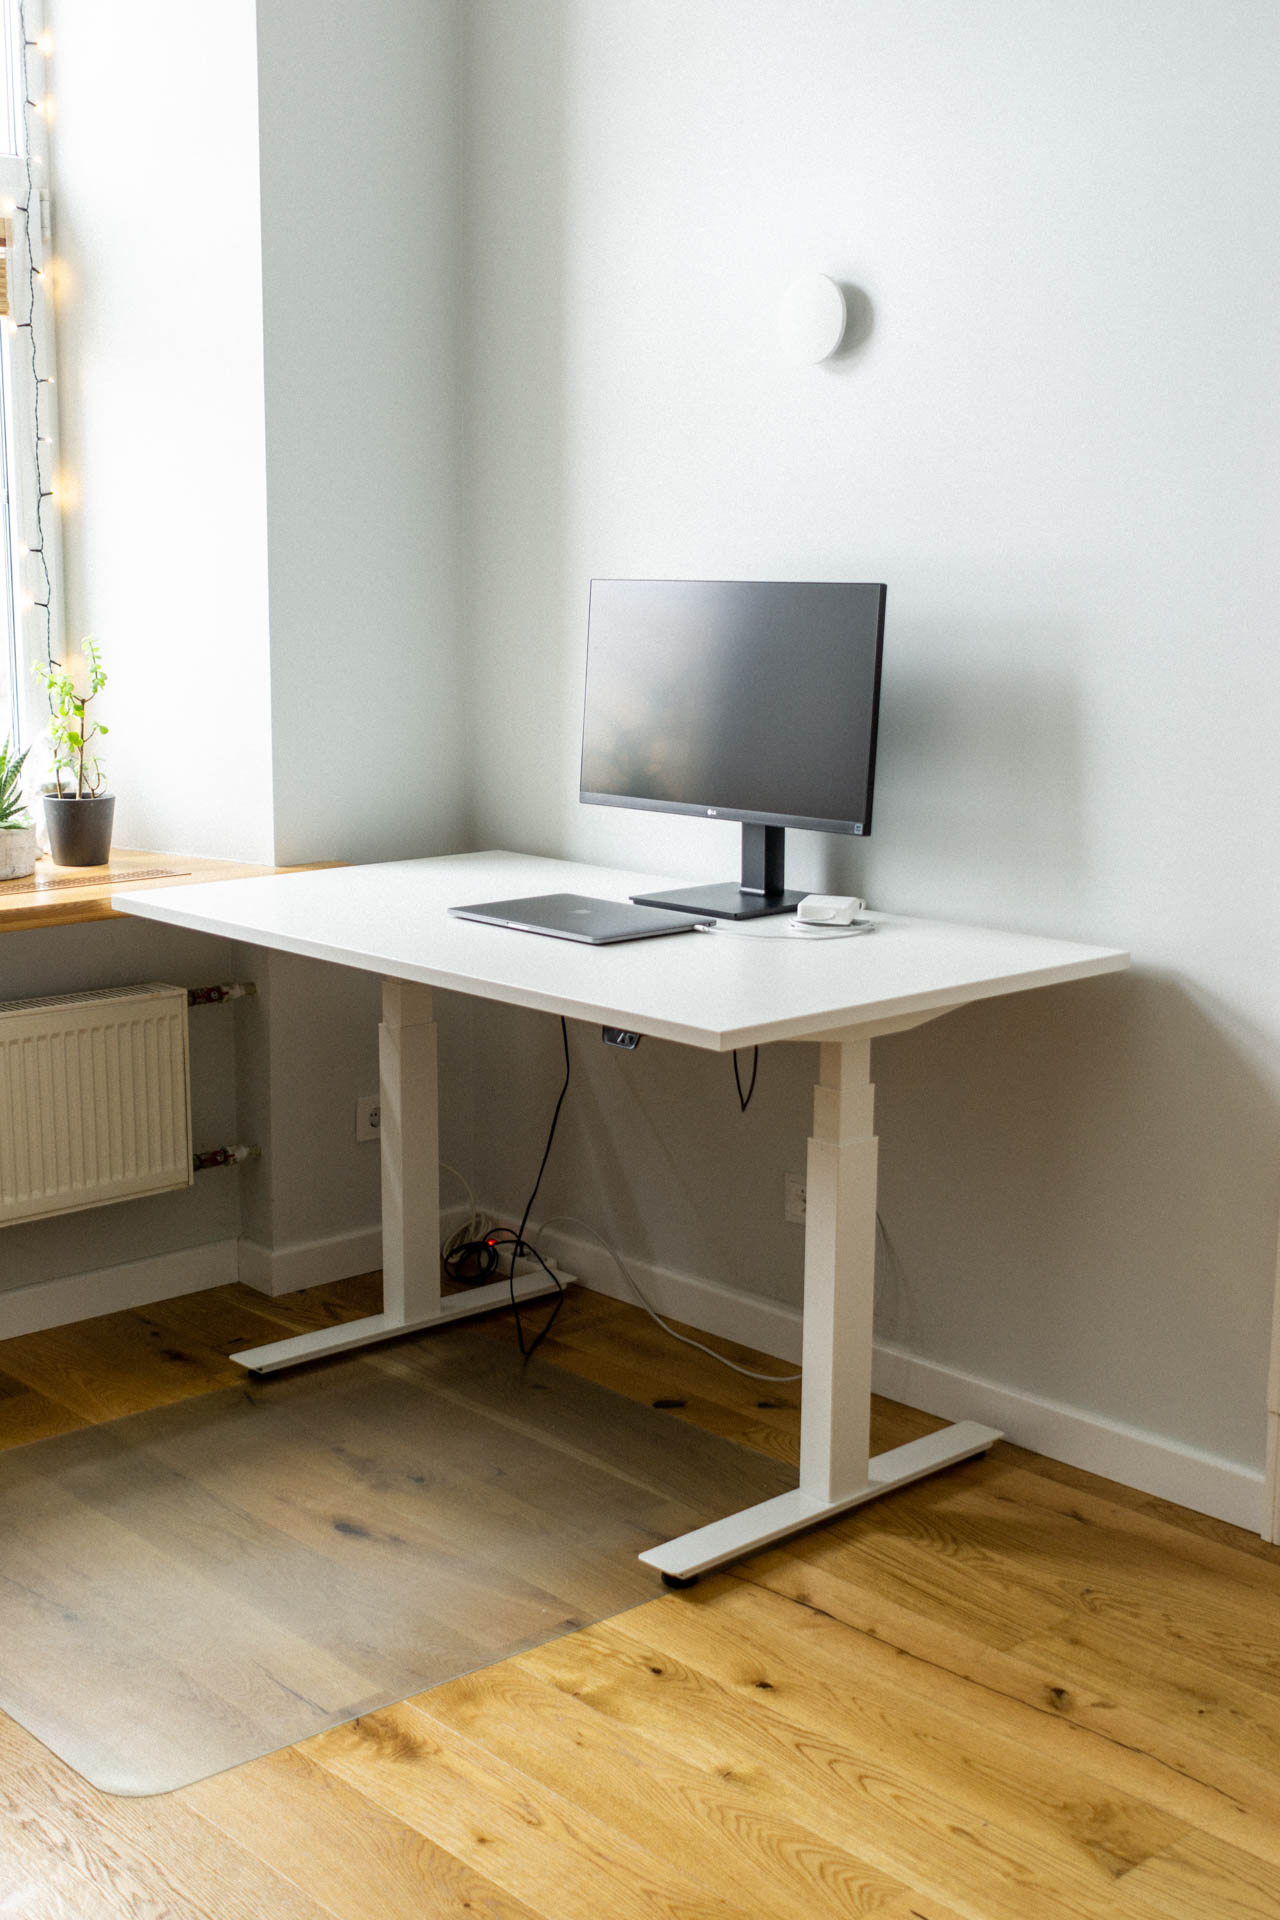 And here is how the original desk looked like. Not so pretty.
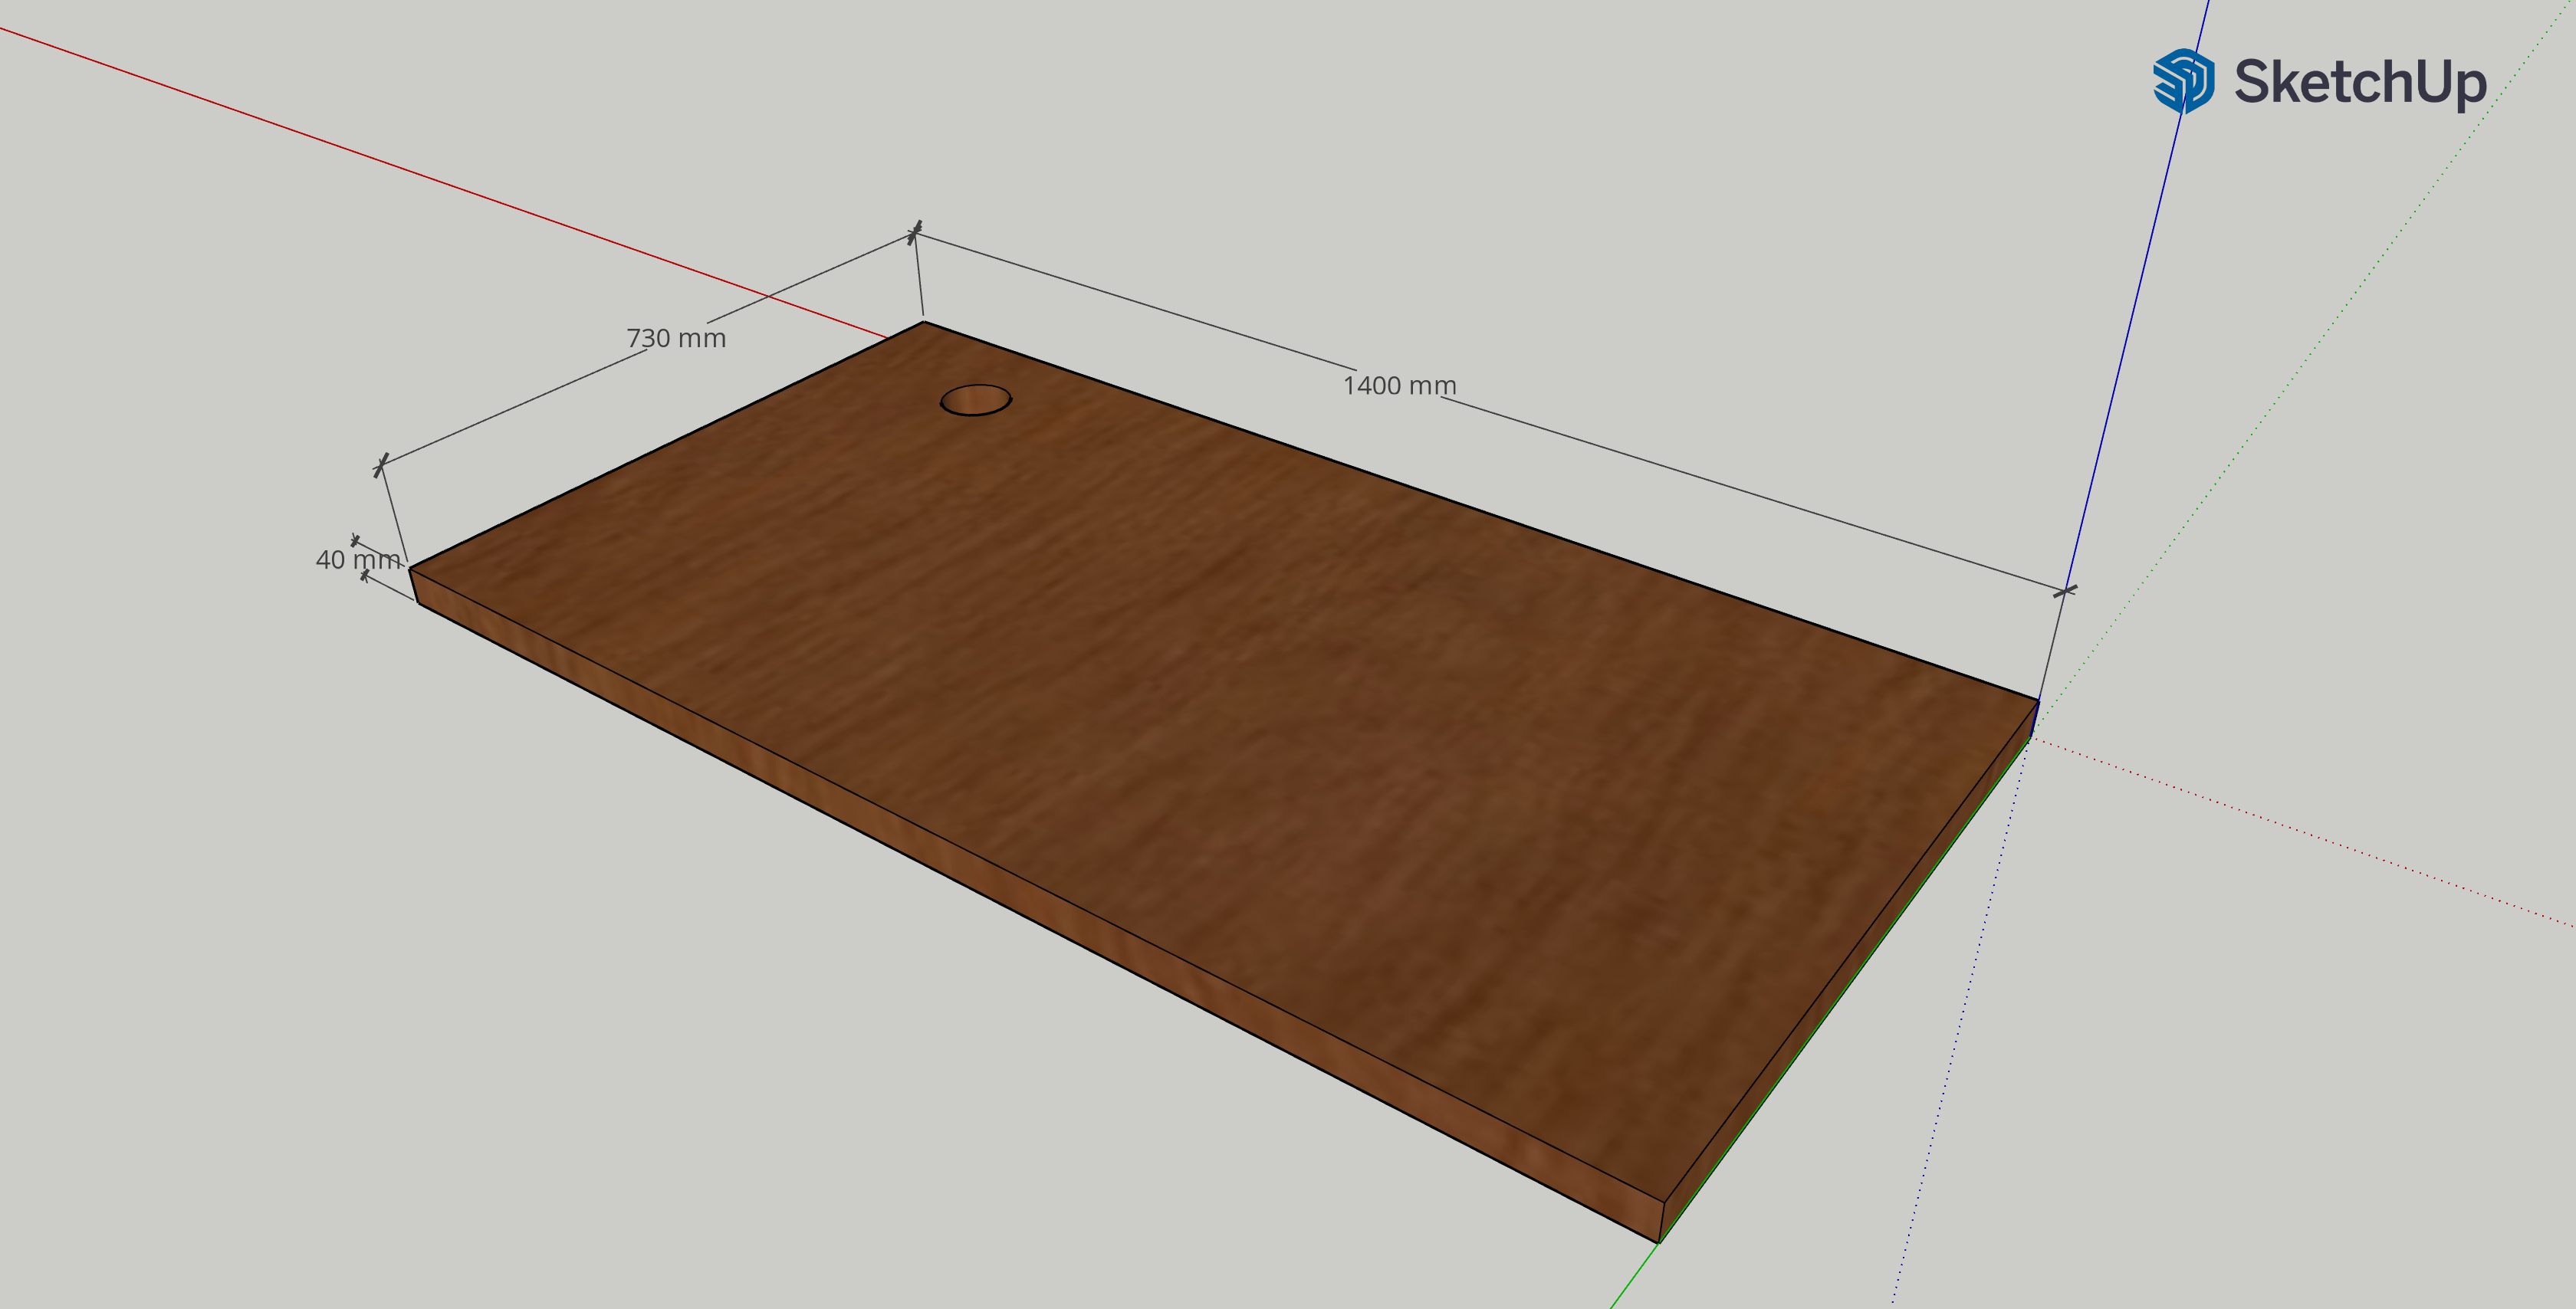 I drew the desk top using Sketch Up with my required dimensions and location for
extra power socket.
I drew the desk top using Sketch Up with my required dimensions and location for
extra power socket.
I have sent it to the manufacturer and received the finished oak desk top after two weeks. It was cut and sanded, but not fully finished.
 When it came in, I’ve left it in a dry place for two more weeks.
Well, it wasn’t a good idea and it got bent really badly. More on that later.
When it came in, I’ve left it in a dry place for two more weeks.
Well, it wasn’t a good idea and it got bent really badly. More on that later.
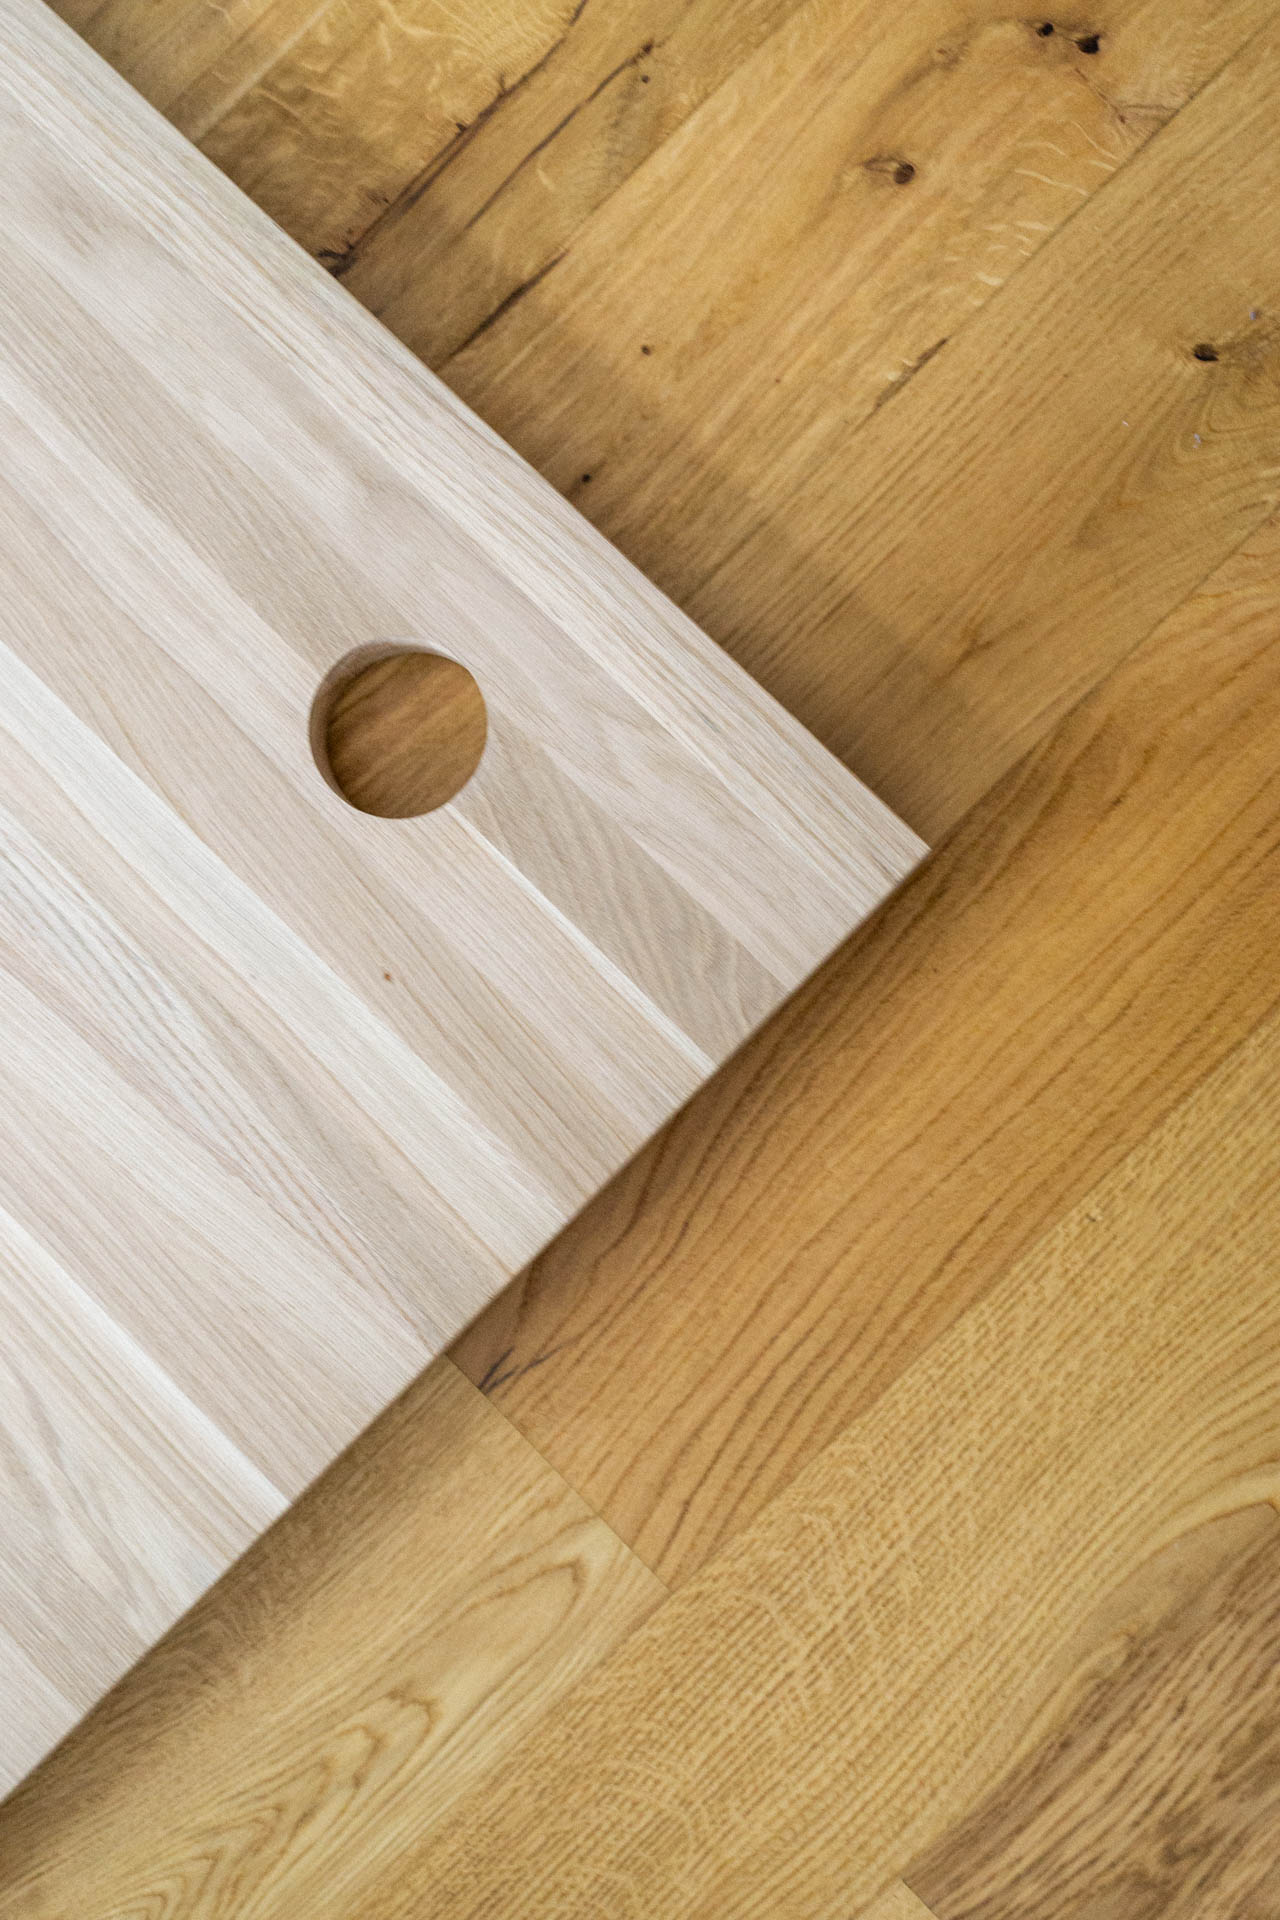 Hole for extra power socket.
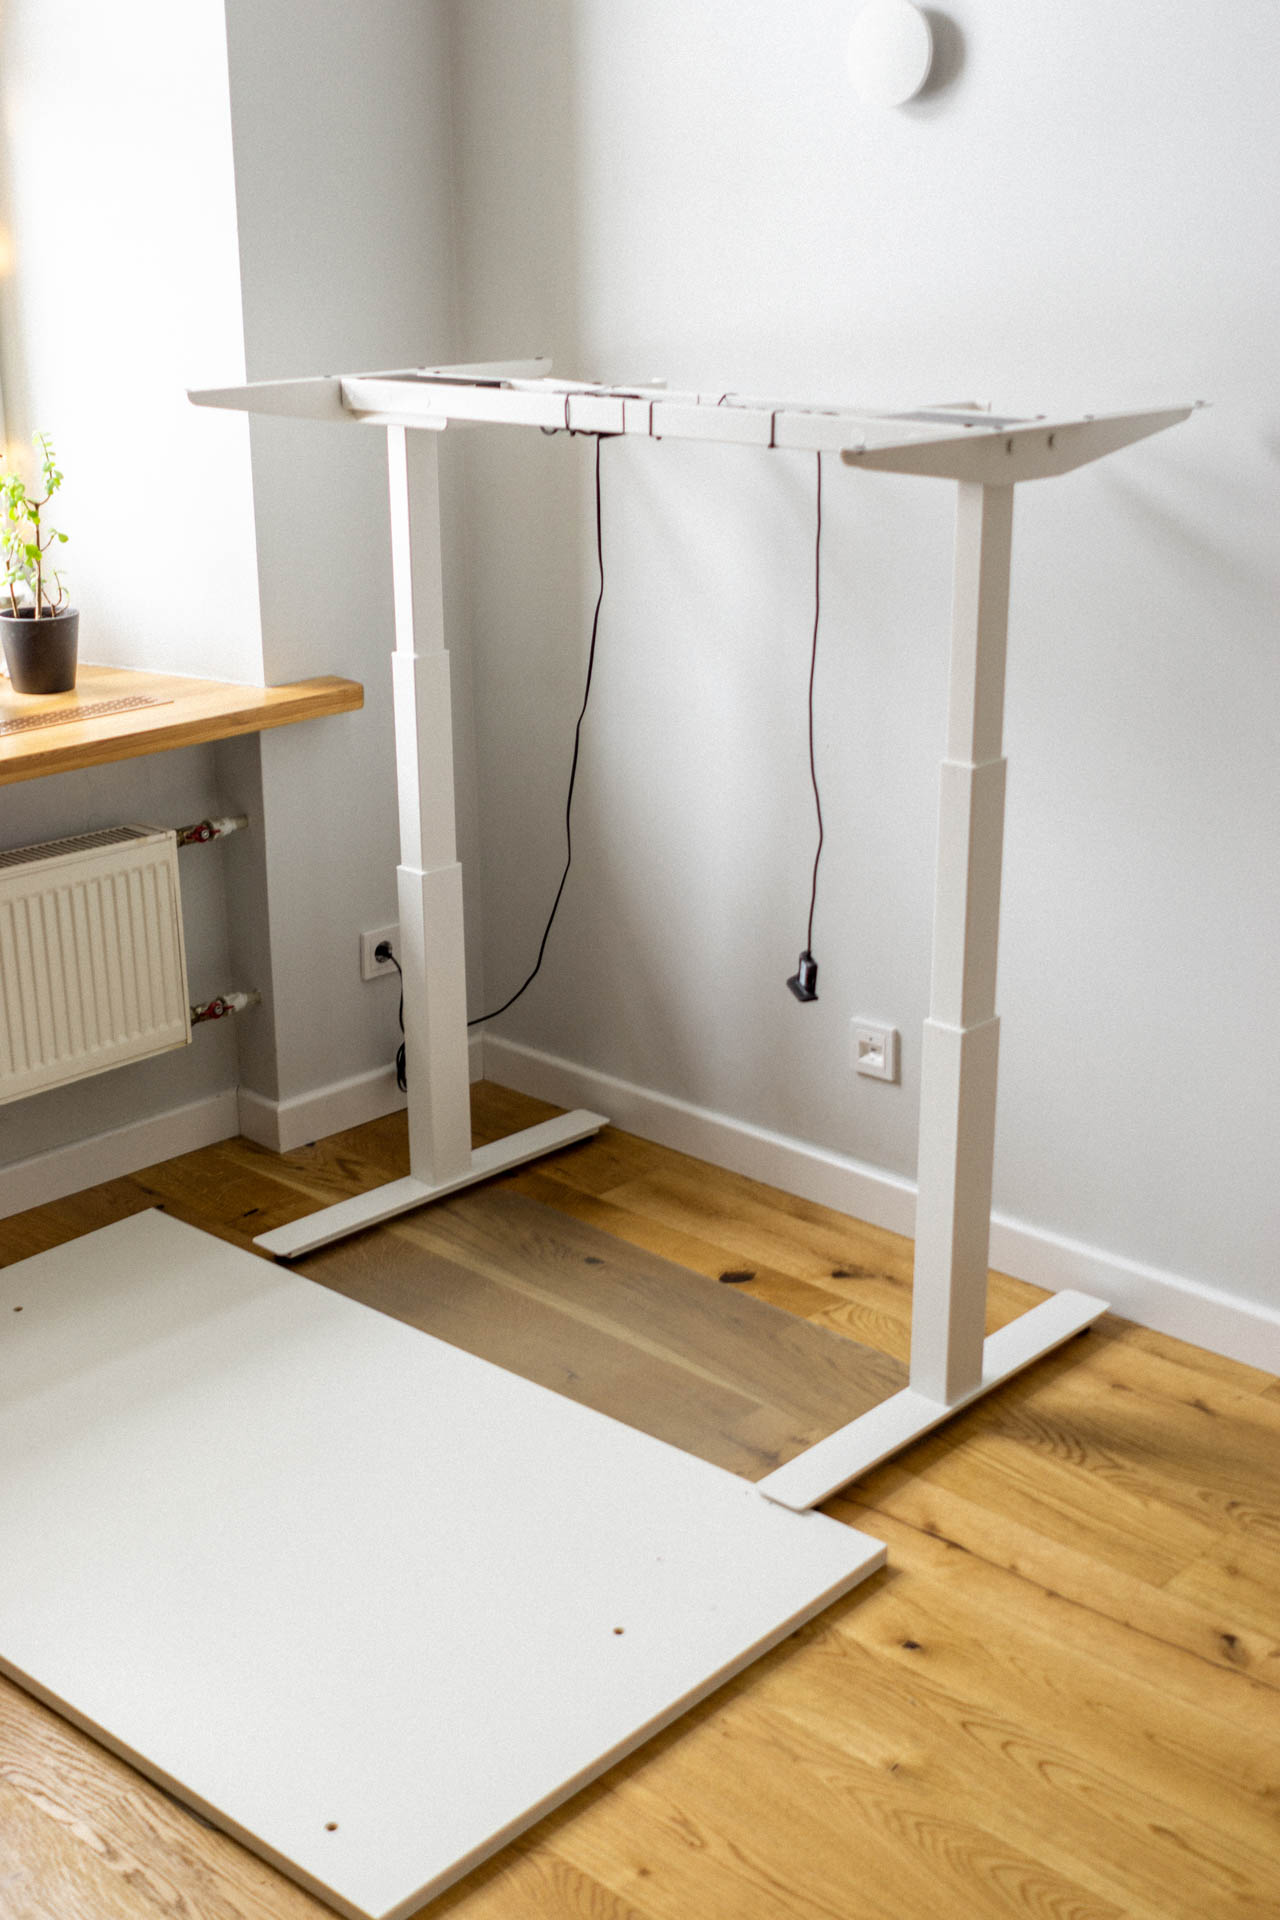 Old desk top removed.
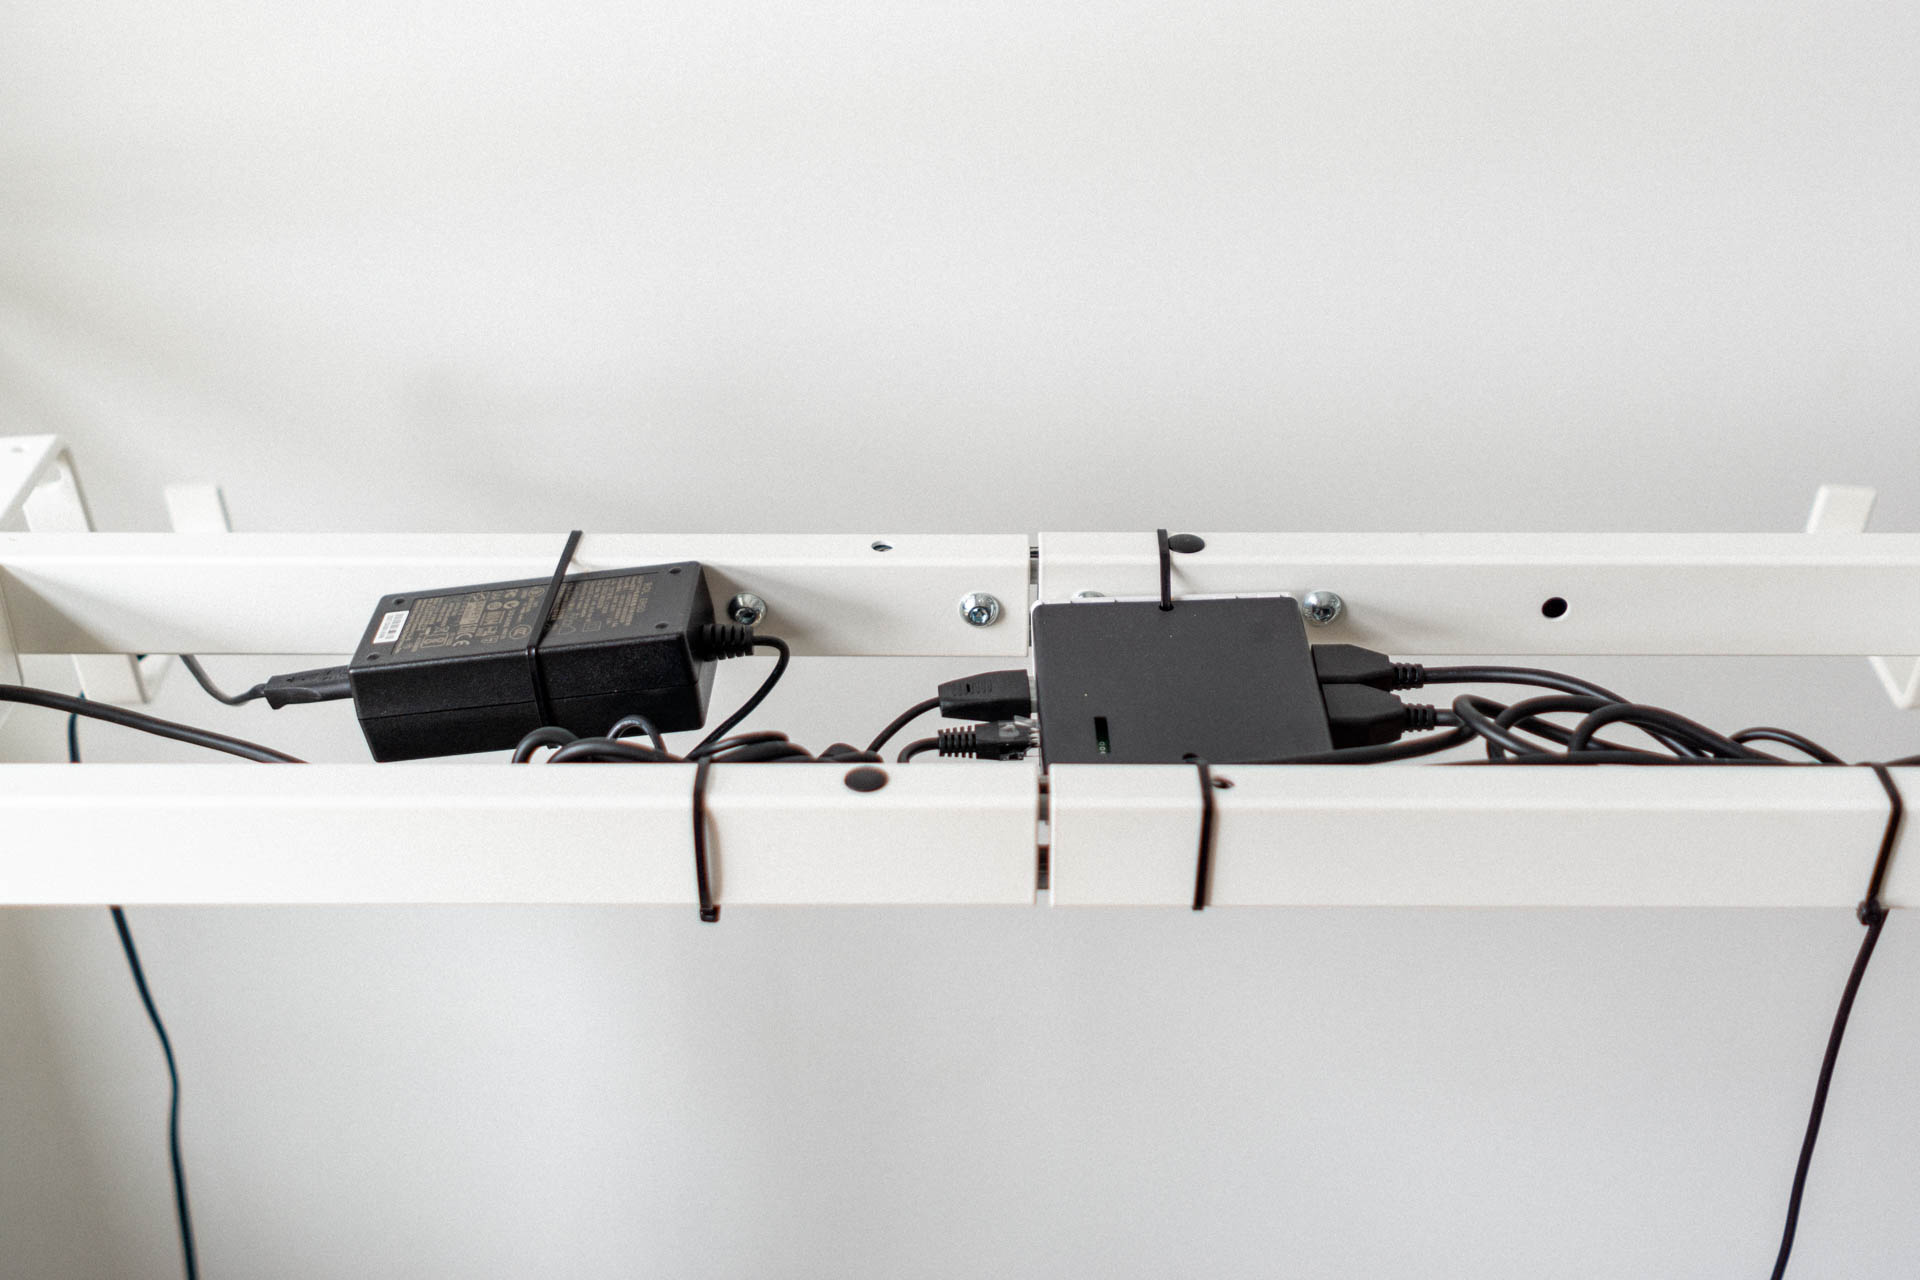 Cable management was a bit messy, so I removed everything to properly attach the stuff again.
 When it comes to cable management, zip ties are the worst.
It can damage the cables if tied too tight. Here is the proof.
When it comes to cable management, zip ties are the worst.
It can damage the cables if tied too tight. Here is the proof.
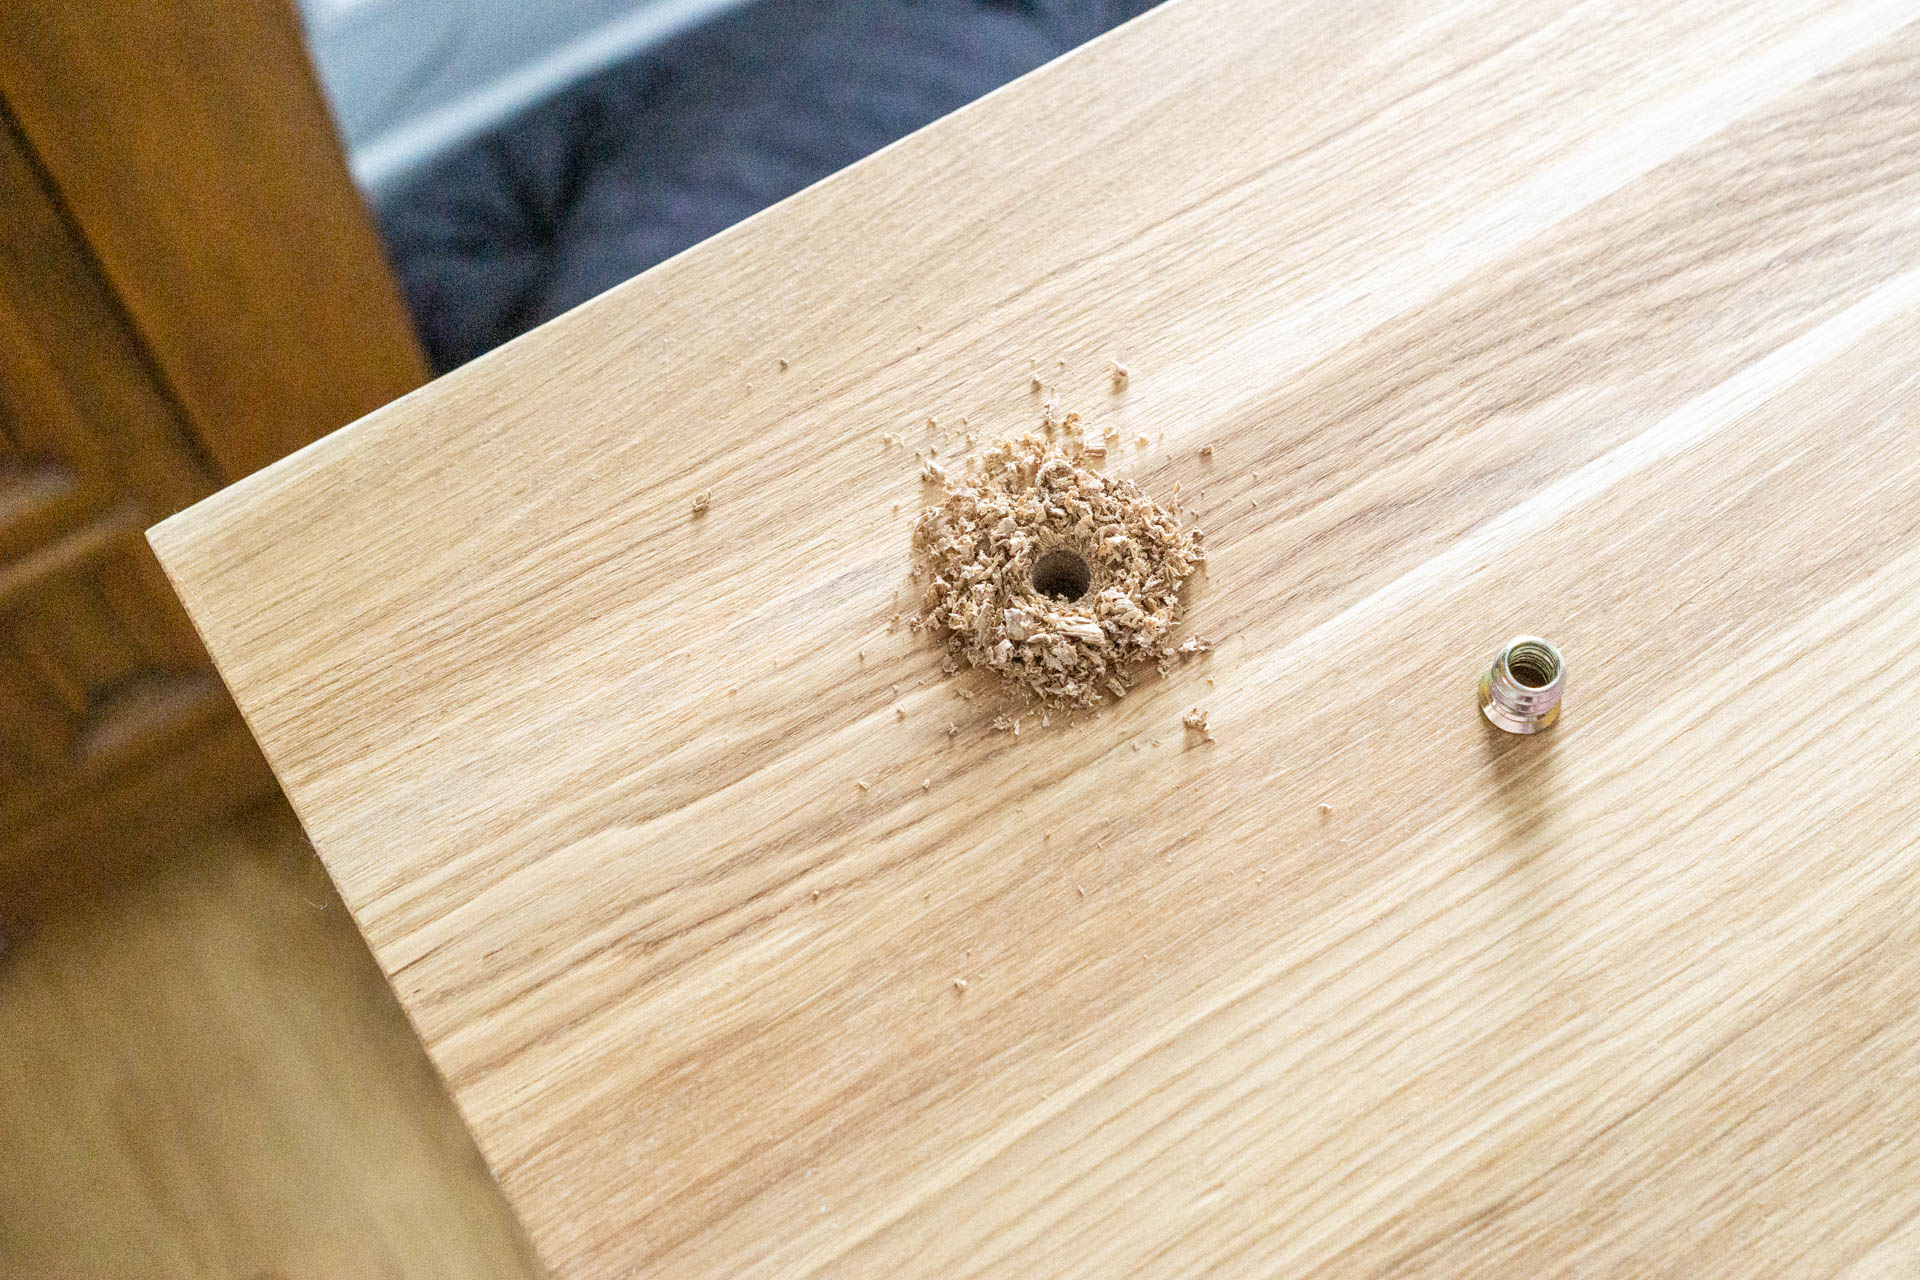 Drilling holes for the screws.
 I am not sure what is the name of this kind of screw, but it’s really useful.
It has an outer thread that holds it inside the wood and an internal thread
that holds the screw itself.
I am not sure what is the name of this kind of screw, but it’s really useful.
It has an outer thread that holds it inside the wood and an internal thread
that holds the screw itself.
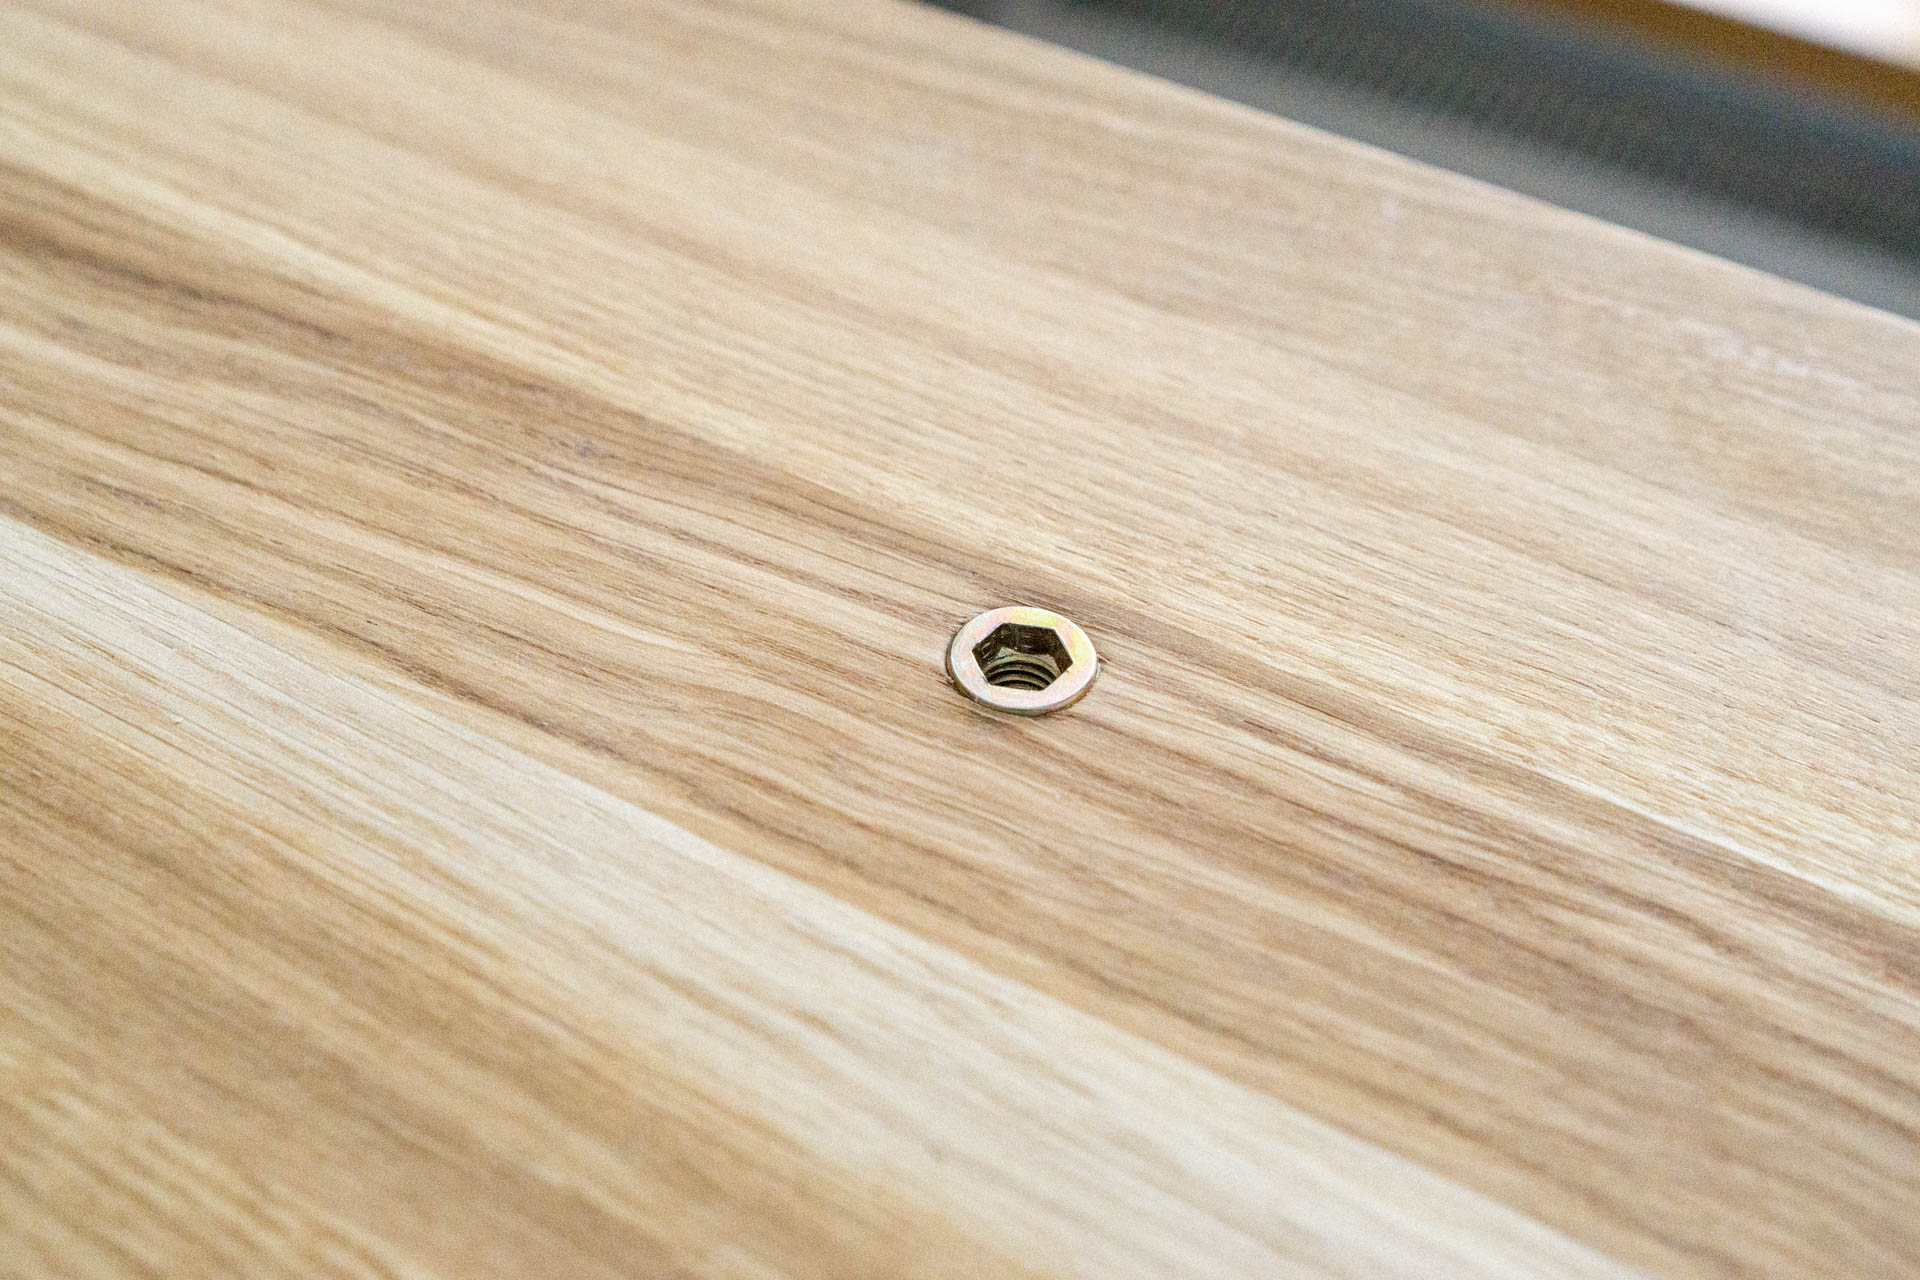
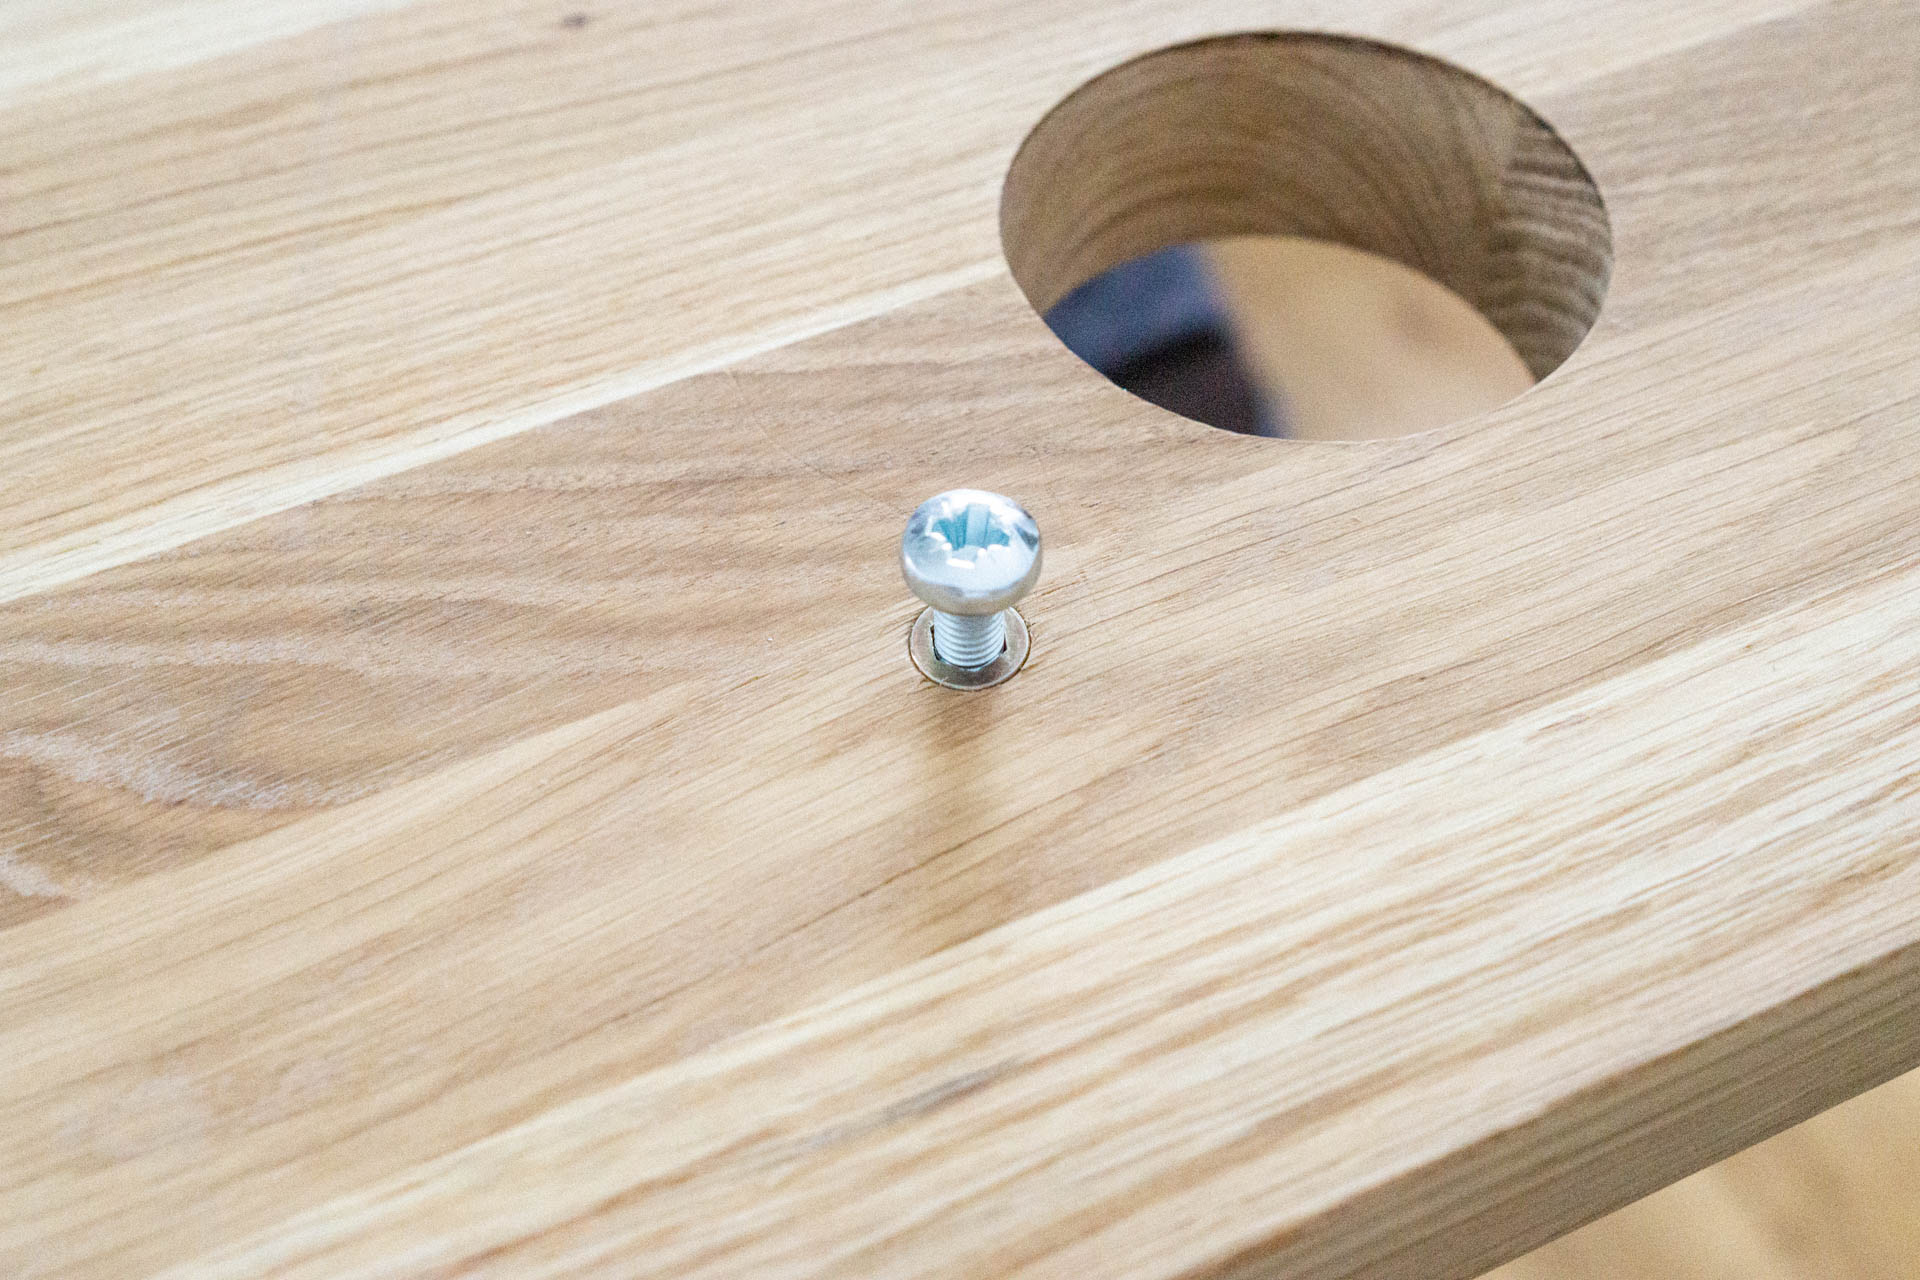 I will use those screws to attach the desk top to the frame.
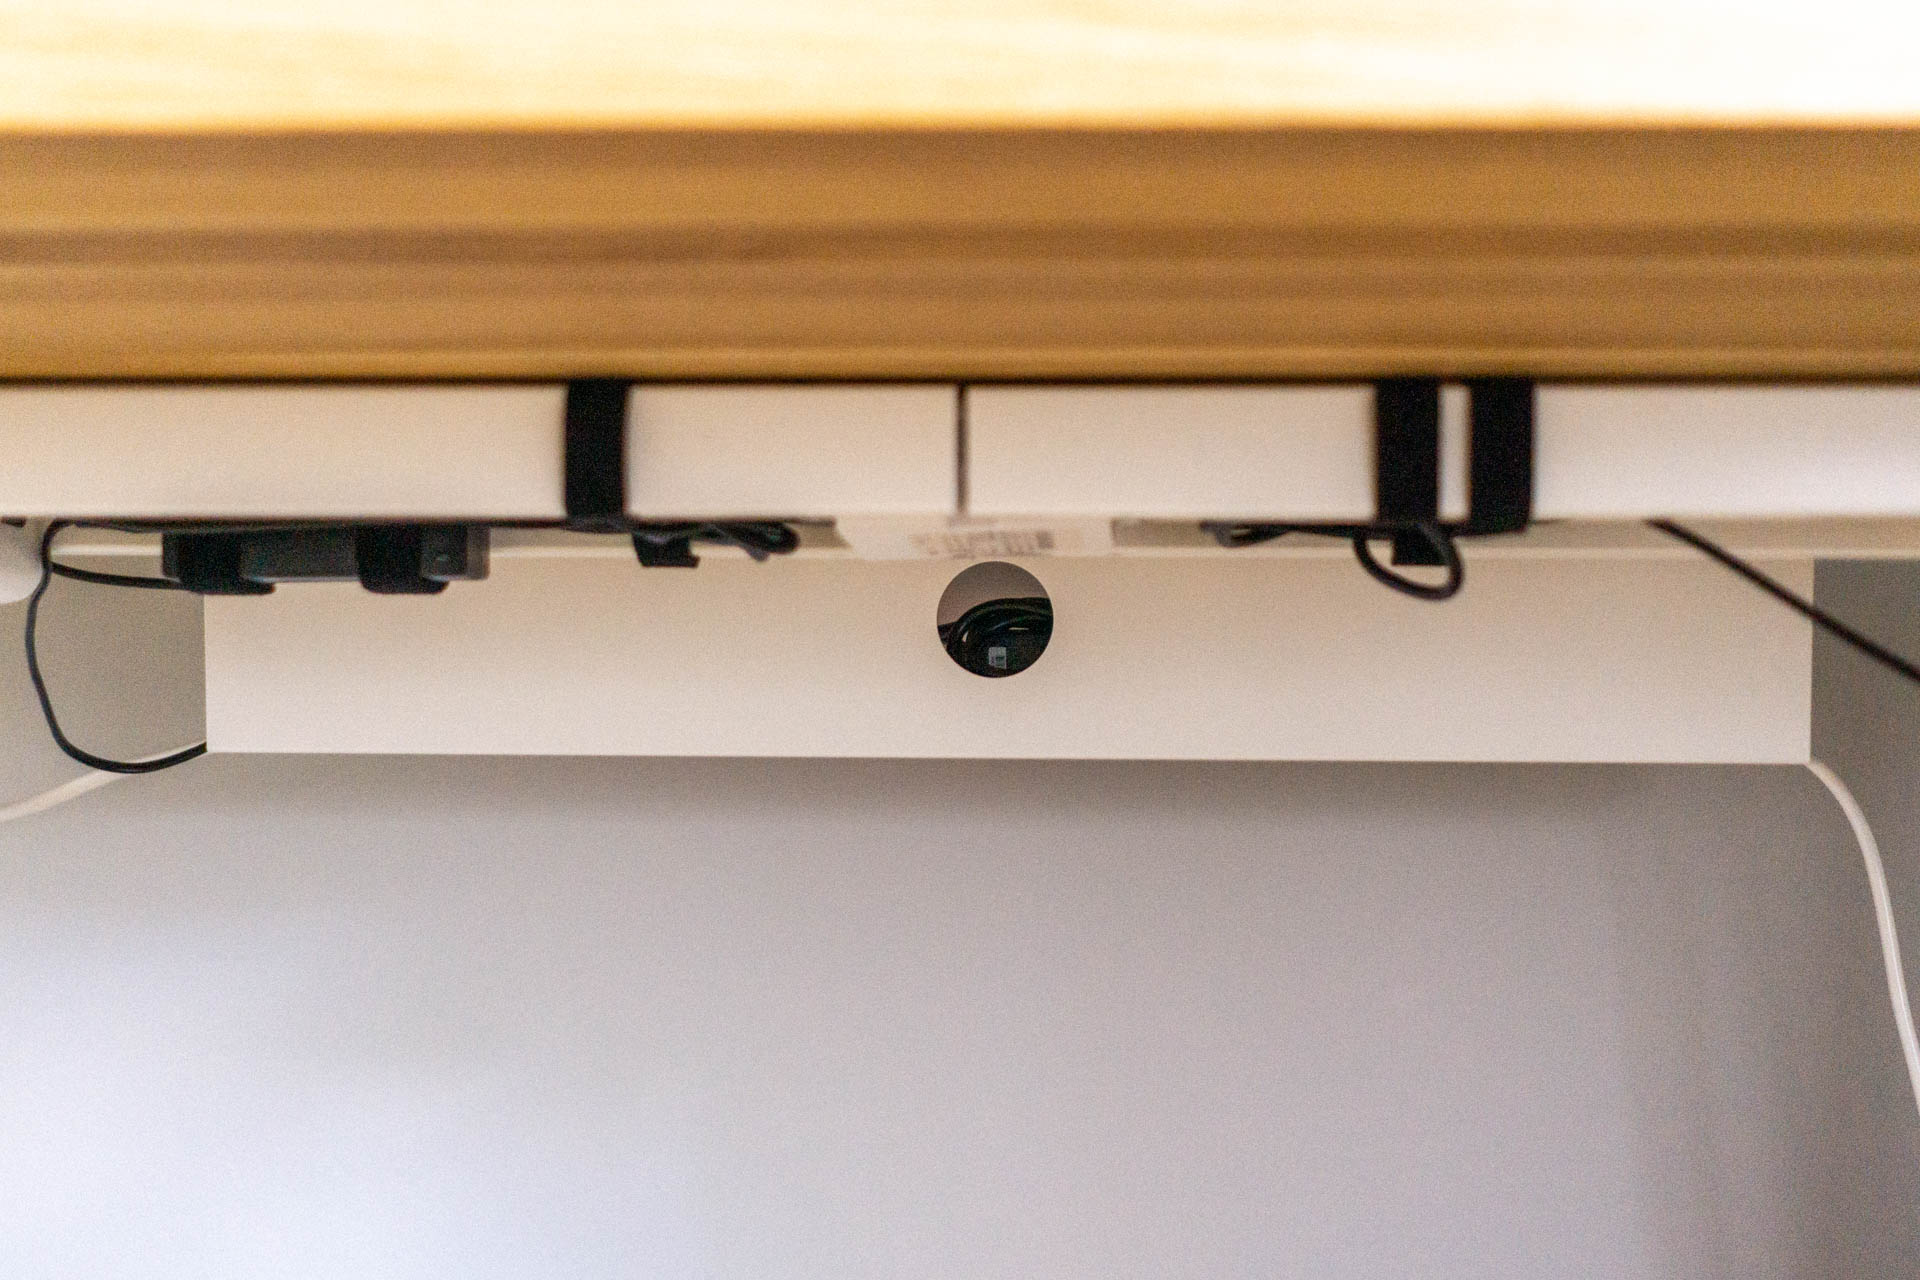
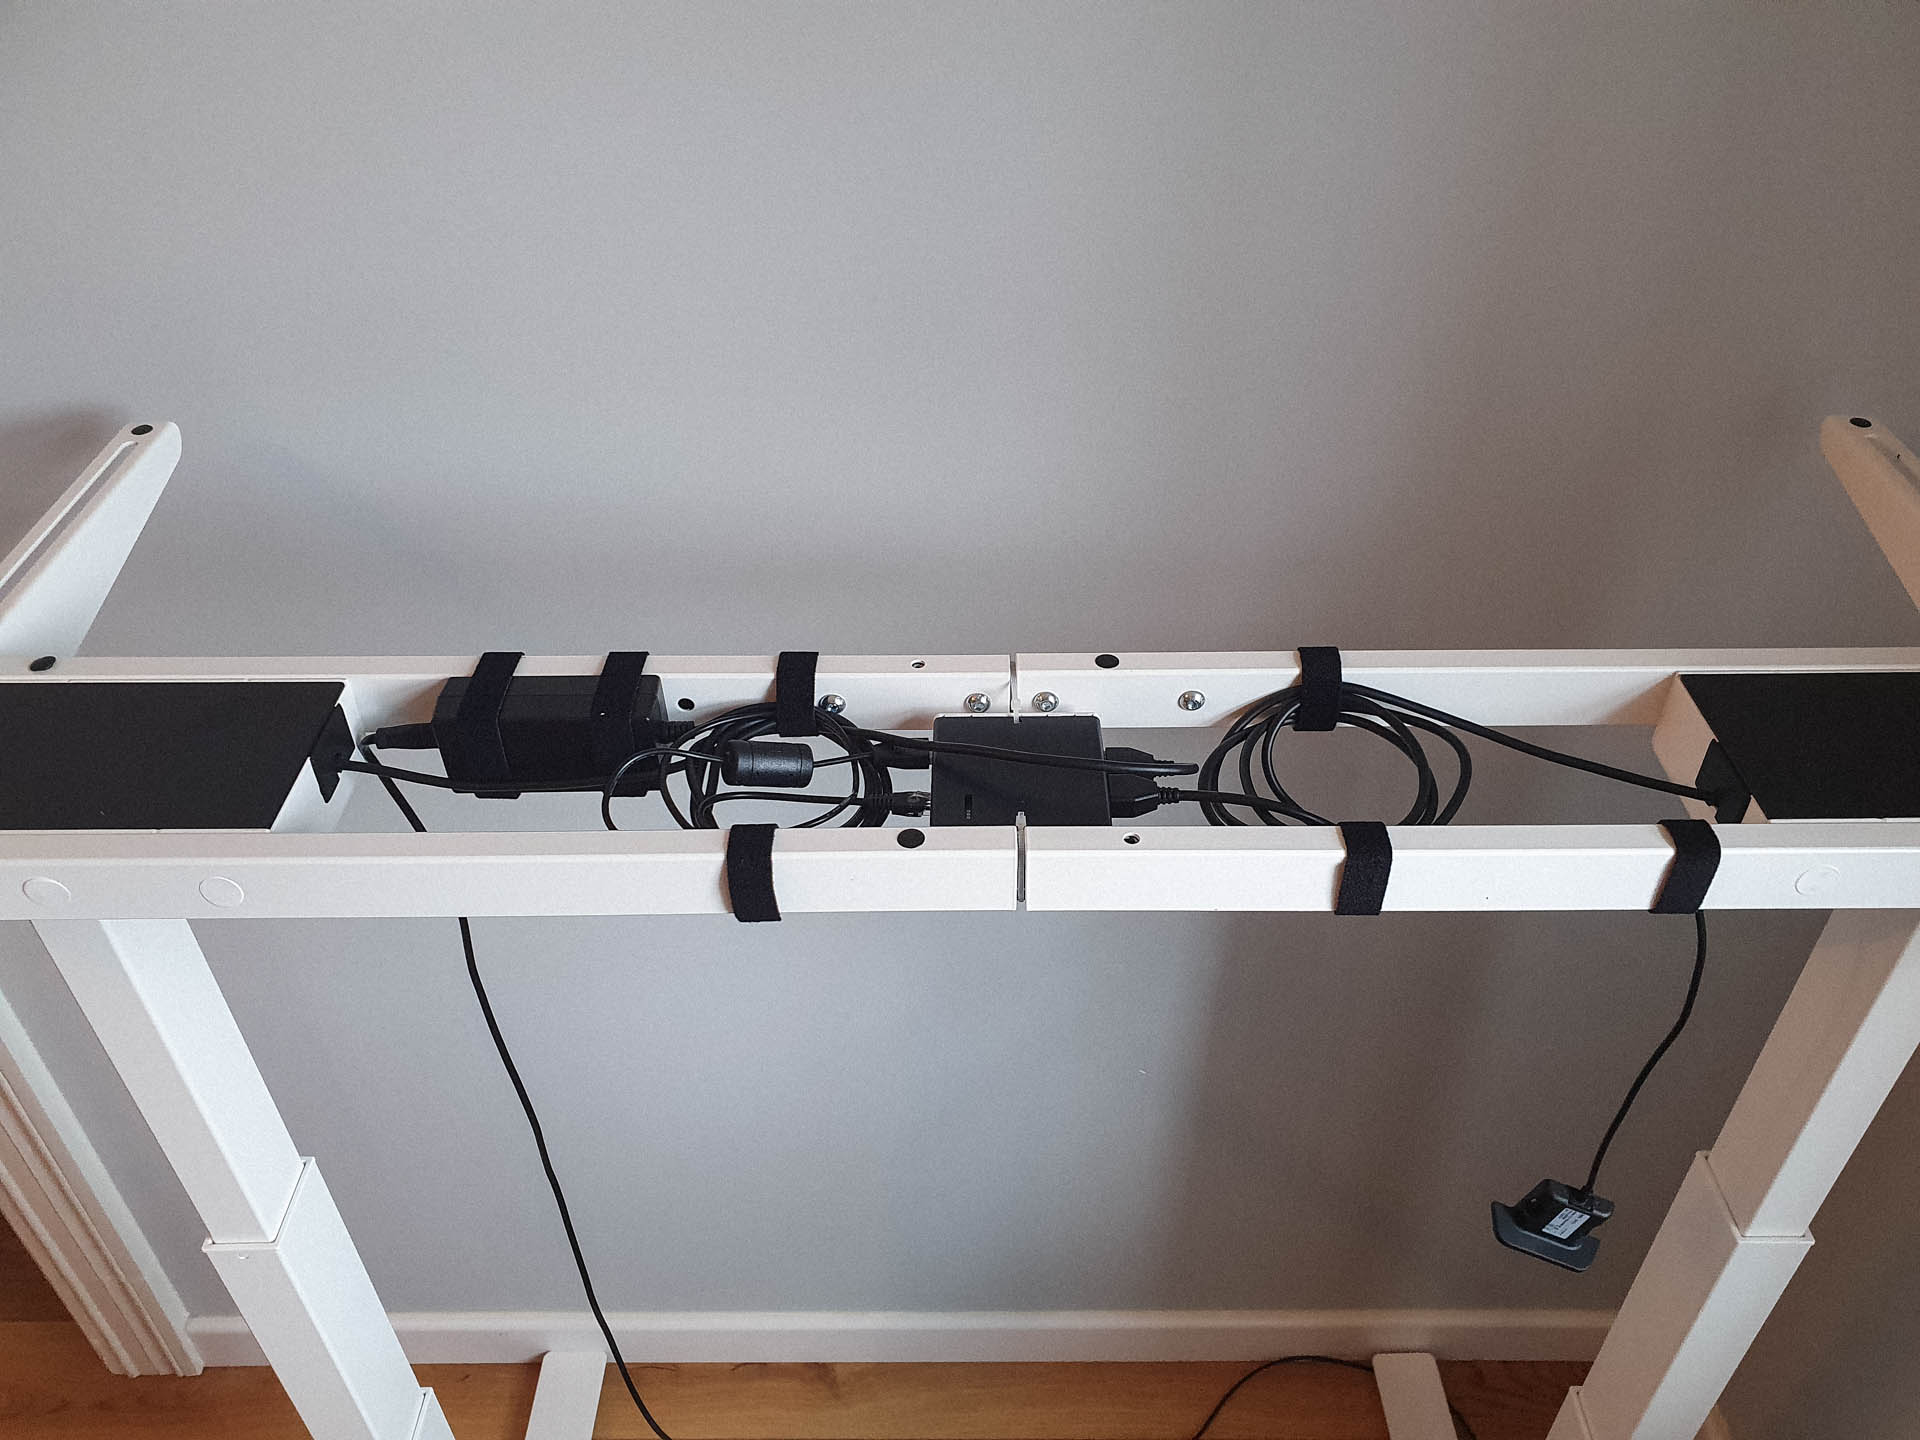 New cable management with velcro. In my expierence, velcro is the best solution
for cable management. It doesn’t damage the cables and can still hold them properly.
New cable management with velcro. In my expierence, velcro is the best solution
for cable management. It doesn’t damage the cables and can still hold them properly.
 Now about the bent desk top. I’ve called the manufacturer and asked for advice.
They said it’s best if I try to screw it to the frame with longer screws and then apply
more pressure each day. In the end, it worked out.
It took almost a week until all desk sides were touching the frame.
Now about the bent desk top. I’ve called the manufacturer and asked for advice.
They said it’s best if I try to screw it to the frame with longer screws and then apply
more pressure each day. In the end, it worked out.
It took almost a week until all desk sides were touching the frame.
 Then, I have applied Osmo TopOil hardwax-oil wood finish to protect the desk
from water or food stains. It protects the desk, but maintains the nice wood texture and feel.
Then, I have applied Osmo TopOil hardwax-oil wood finish to protect the desk
from water or food stains. It protects the desk, but maintains the nice wood texture and feel.
 Here is how it looks like after fully drying up.
 Looks awesome! Time to install the missing equipment.
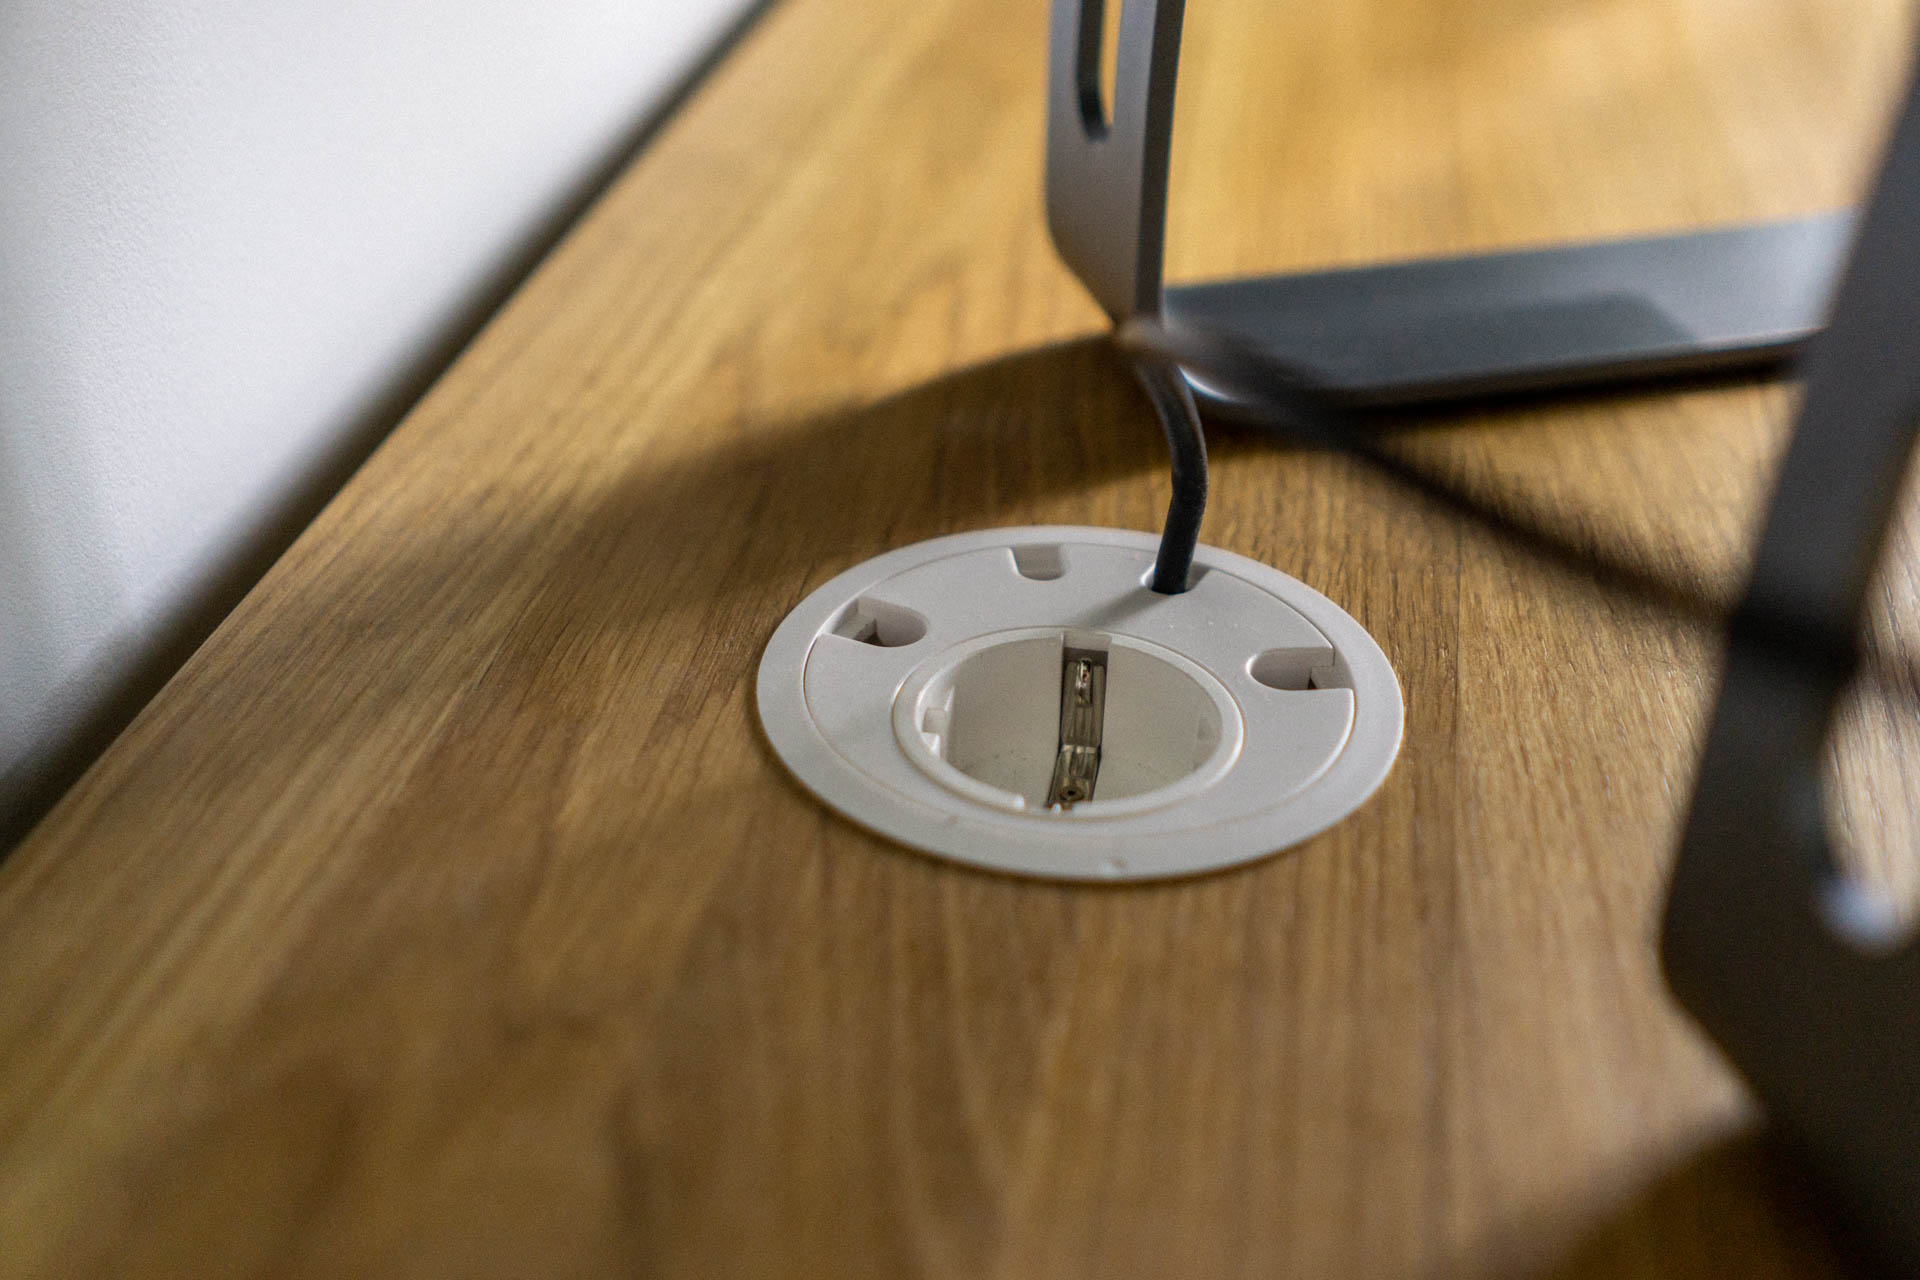 Power socket
for external charger and extra holes for accessories.
Power socket
for external charger and extra holes for accessories.
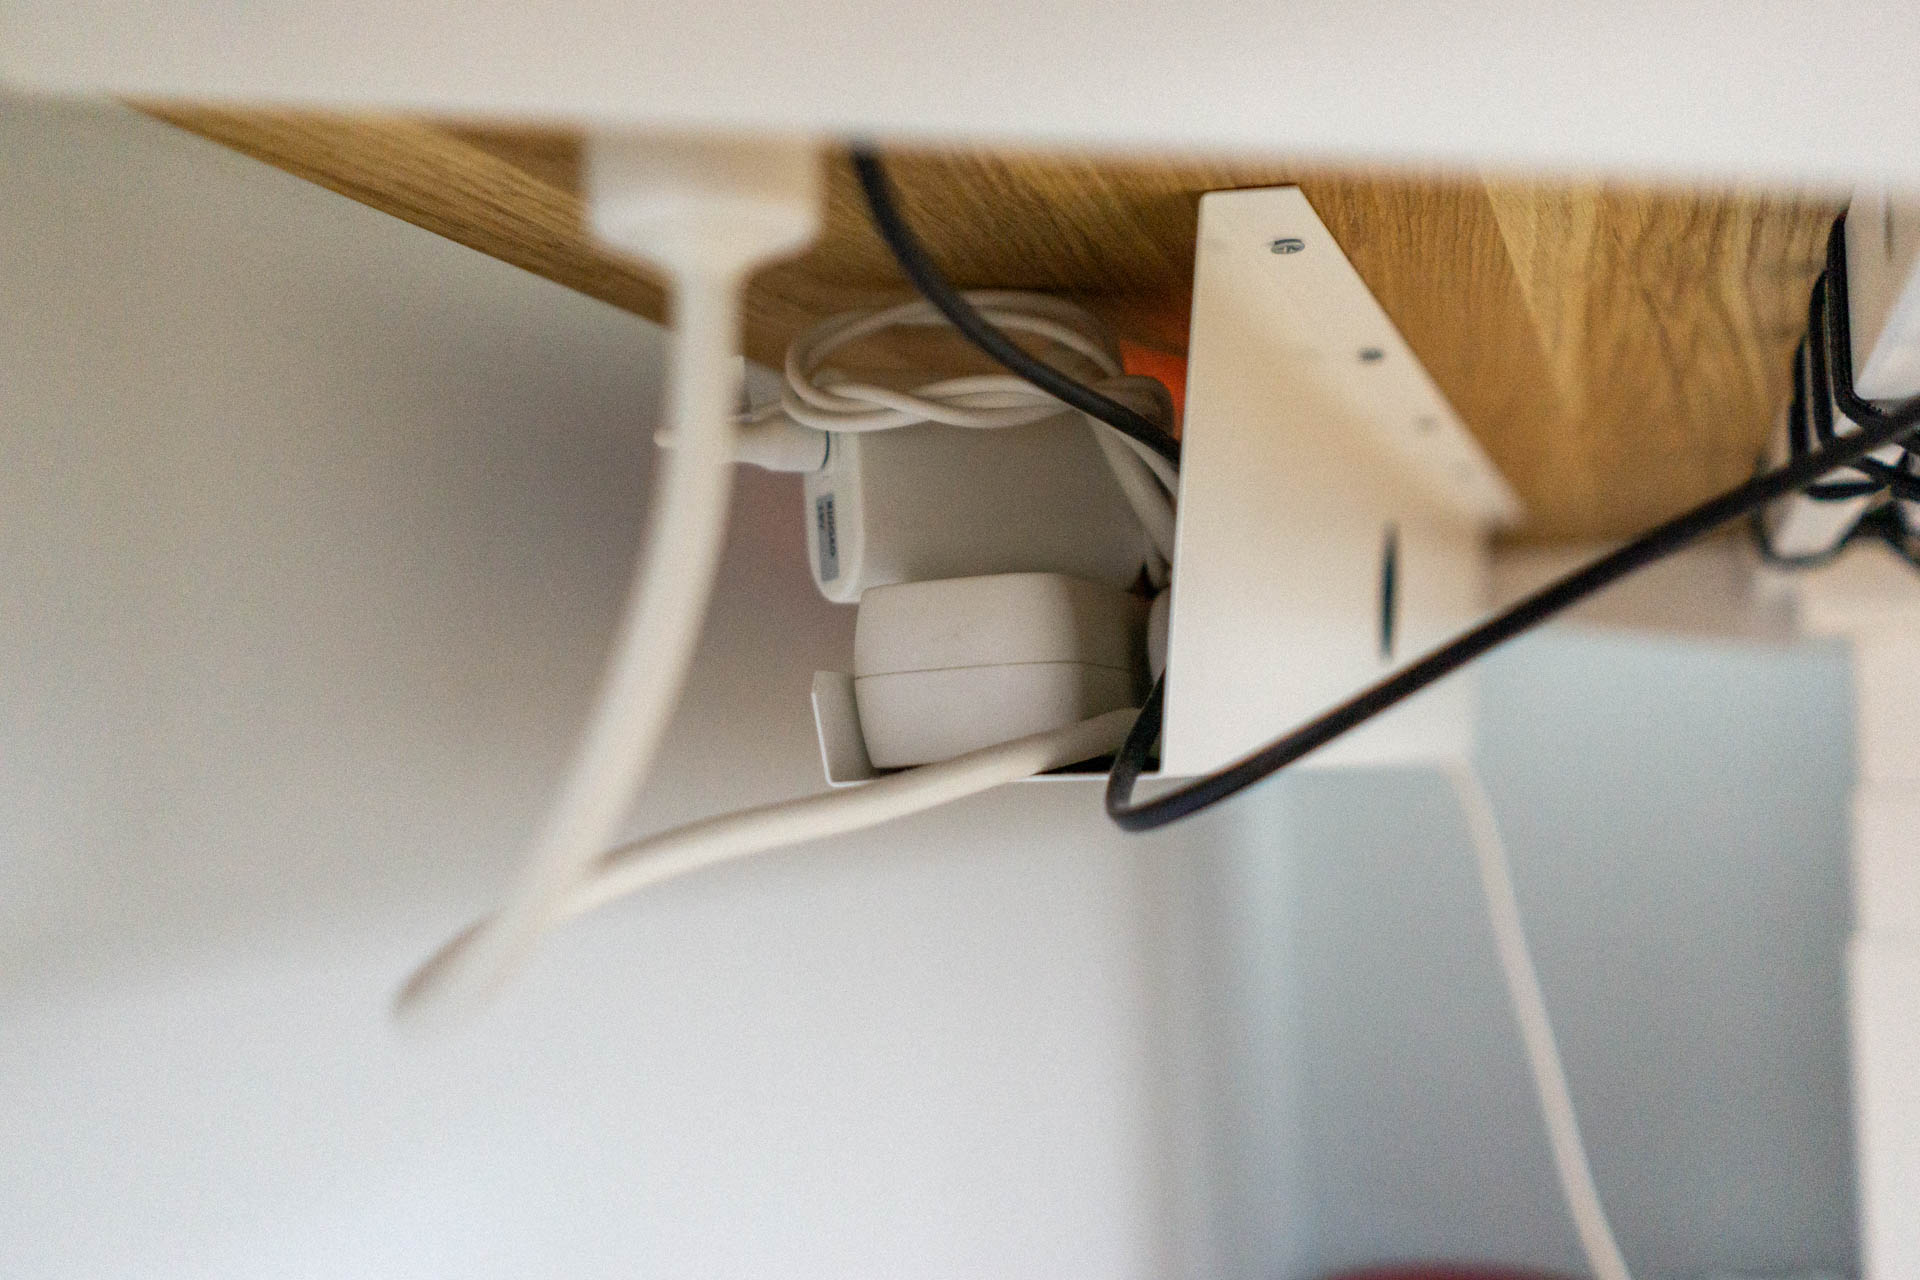 New cable management tray for power strips and chargers.
 It hides all the clutter and keeps a clean space under the desk.
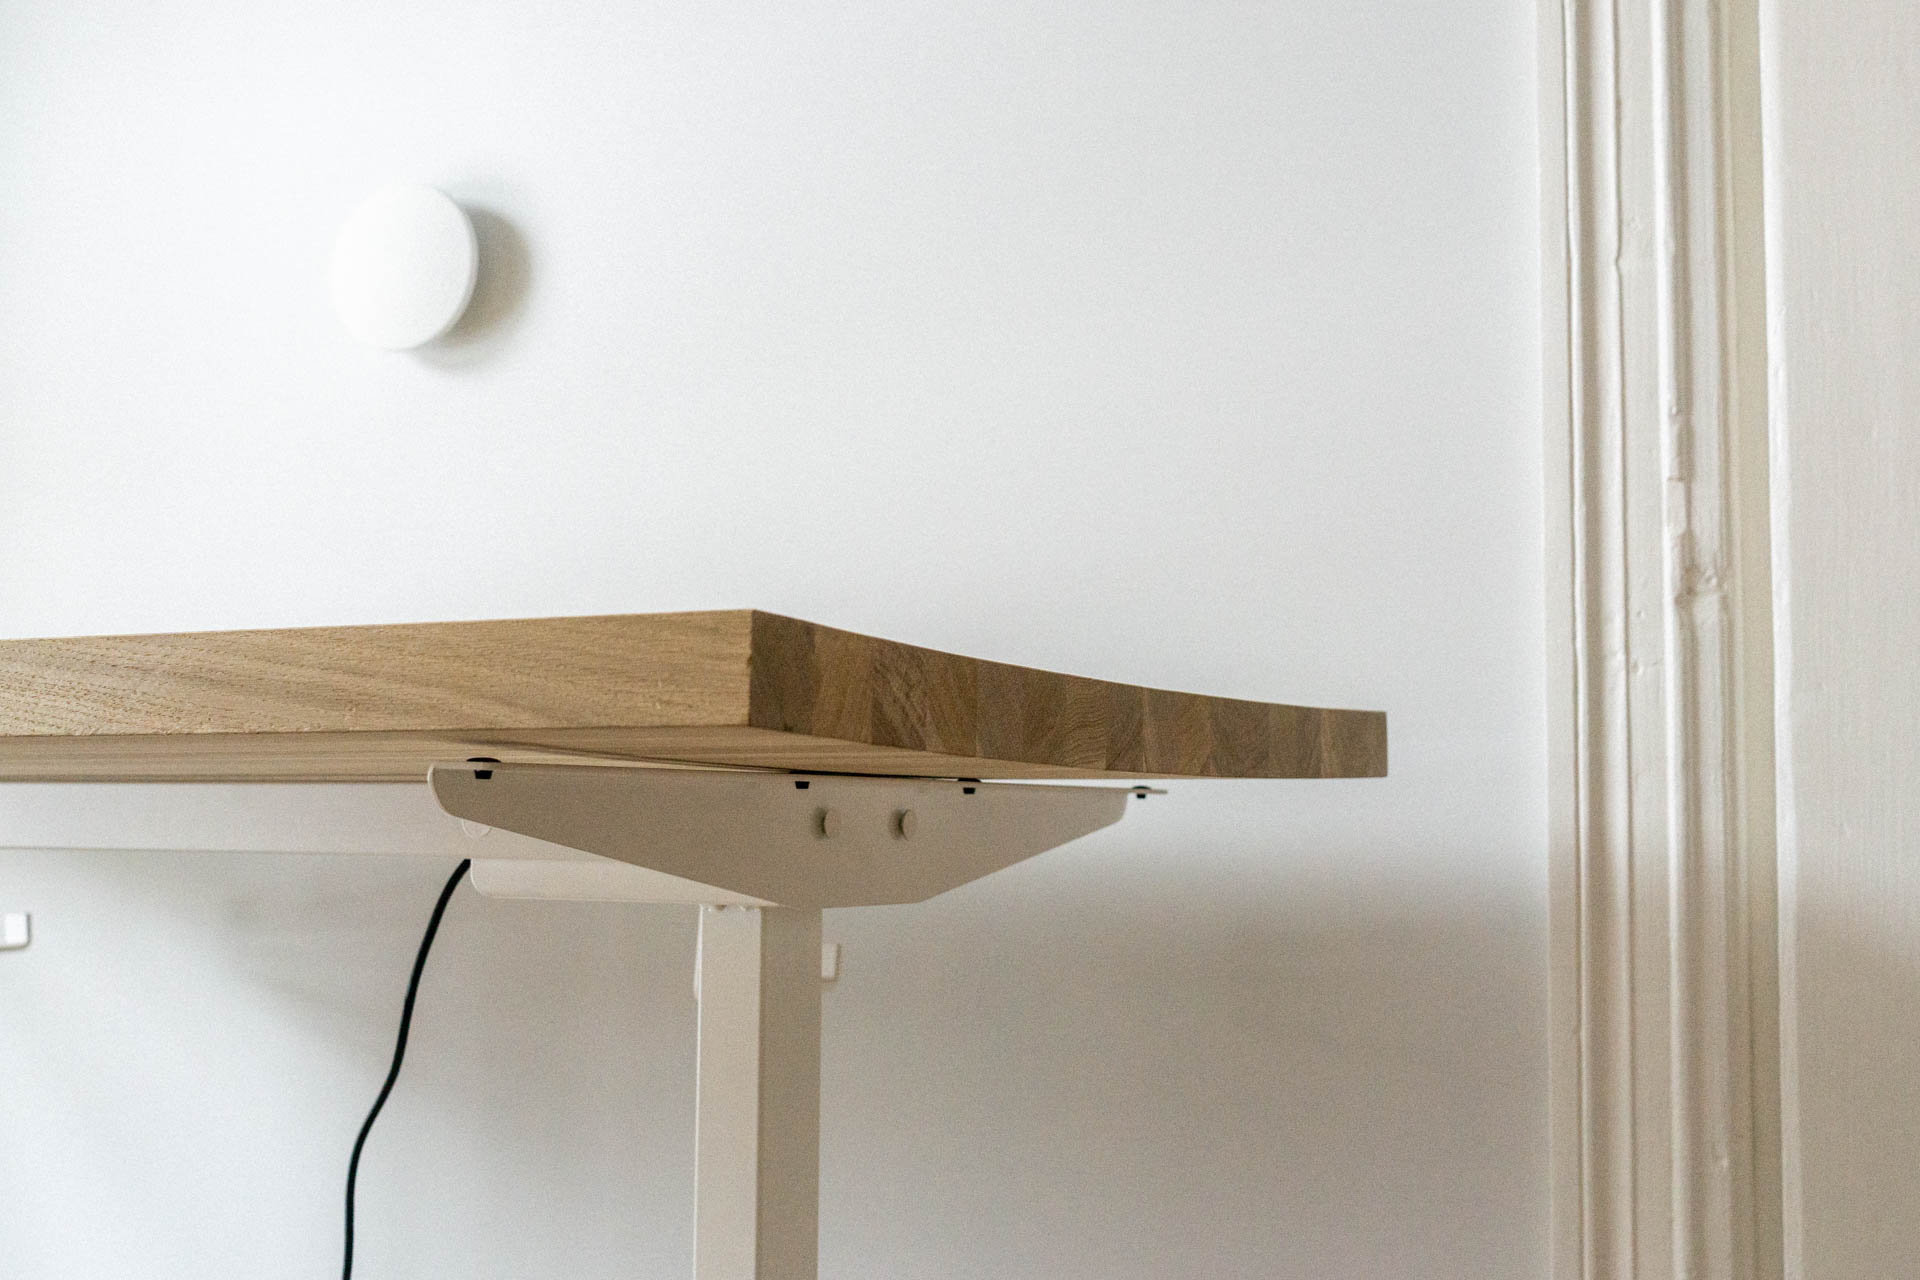
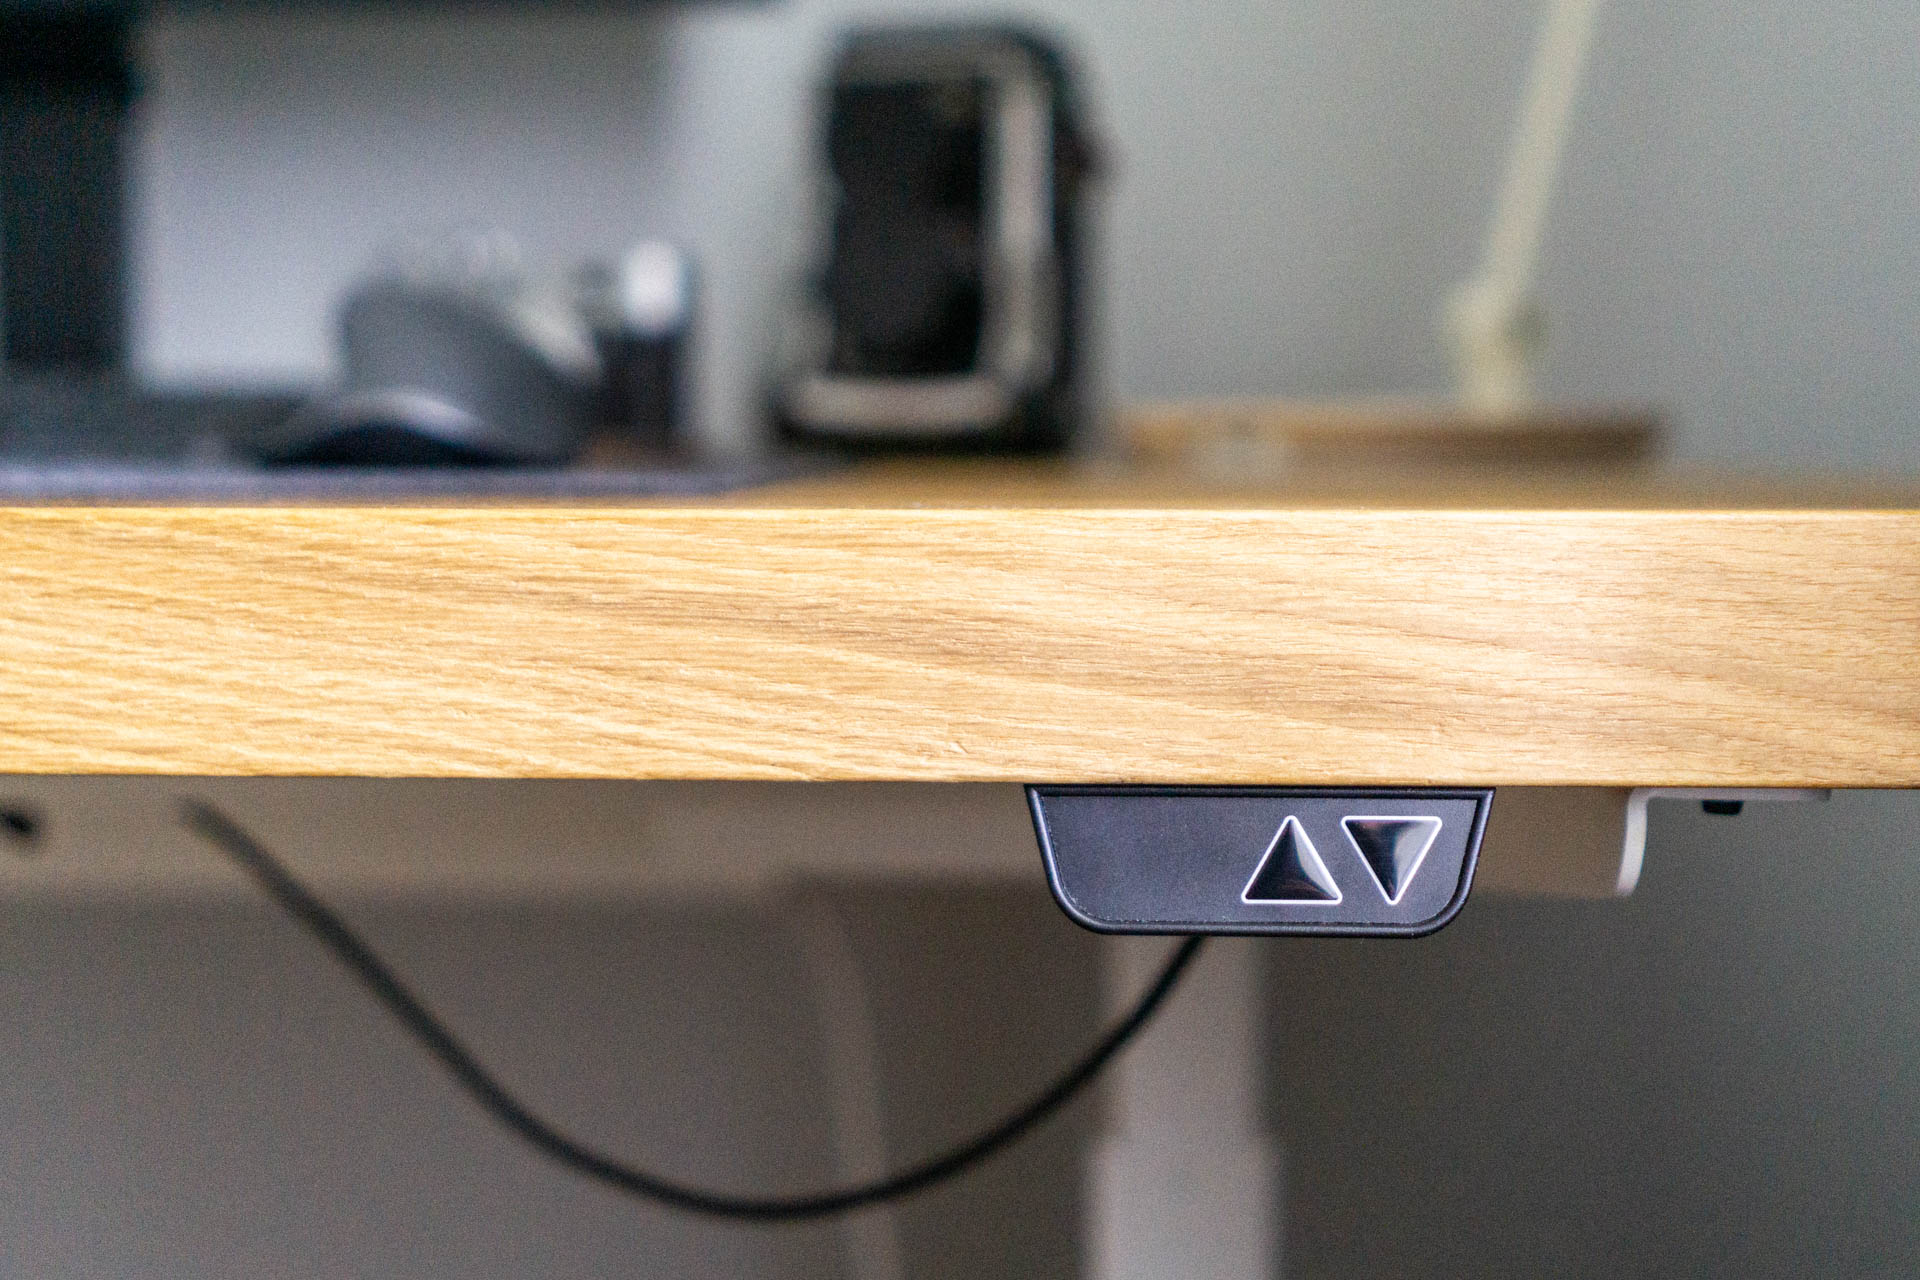 Height control buttons re-attached to the desk.
Finally, the last pieces - work equipment.